Thinning and/or Transplanting Seedlings
Thinning seedlings - the VIP treatment your plants deserve.
Thinning seedlings might sound a bit brutal, but it’s all about giving your future plants the best shot at success. Think of it as the plant version of a VIP club—just with fewer velvet ropes and more dirt under your nails. Skipping the thinning process is like inviting everyone to a party but only having enough snacks for half the crowd.
Thinning seedlings is an essential gardening step for several reasons:
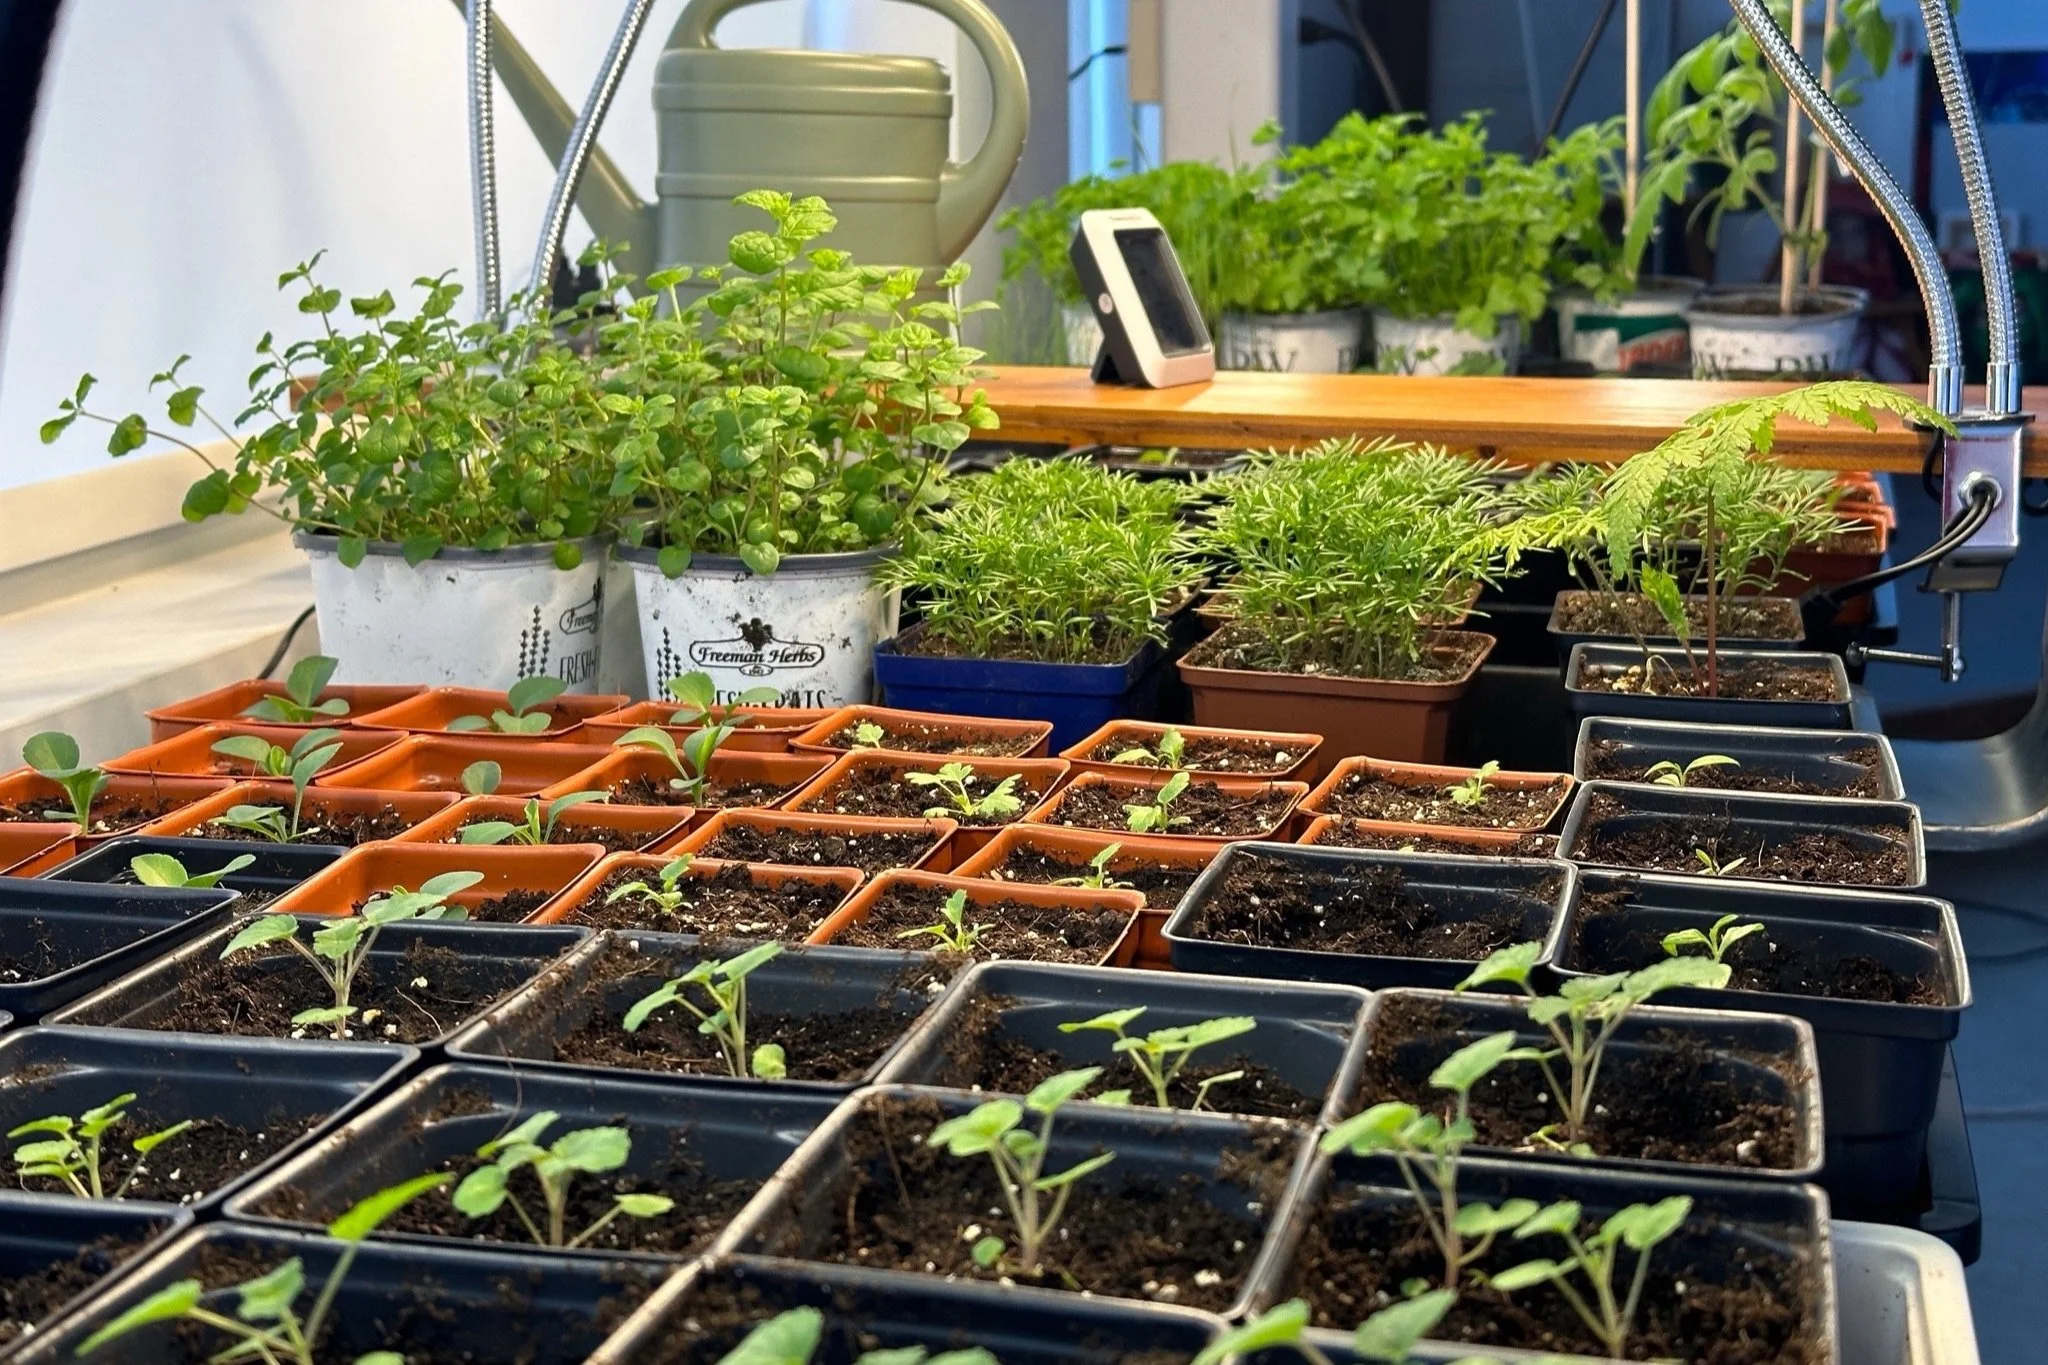
Healthier Plants: When seedlings are packed tighter than commuters crammed into a rush-hour subway car, they squabble over resources like water, nutrients, and sunlight. Thinning them out is like giving each plant its own luxury penthouse suite, ensuring they grow strong and healthy.
Better Airflow: Adequate spacing improves airflow around the plants, reducing the risk of fungal diseases and promoting overall plant health.
Stronger Roots: With more space, seedlings can develop stronger root systems, leading to more robust and resilient plants.
Improved Harvest: For vegetable gardens, thinning can lead to higher yields and better-quality produce since each plant has the room it needs to flourish.
Preventing Overcrowding: Overcrowded seedlings can lead to weak, spindly plants that are more susceptible to pests and diseases.
Here’s a step-by-step guide to thinning your seedlings:
Identify Crowded Spots: Look for areas where seedlings are growing too closely together.
Select the Strongest: Choose the healthiest, strongest seedlings to keep. They’ll be the ones with sturdy stems and vibrant leaves.
Remove the Extras: Gently pull out the weaker seedlings. You can use small scissors to snip them at the soil level to avoid disturbing the roots of the remaining plants — no root disturbance, just a smooth, drama-free exit.
Space Them Out: Ensure the remaining seedlings have enough space to grow. The ideal spacing will depend on the plant type, but generally, you want each seedling to have a bit of breathing room.
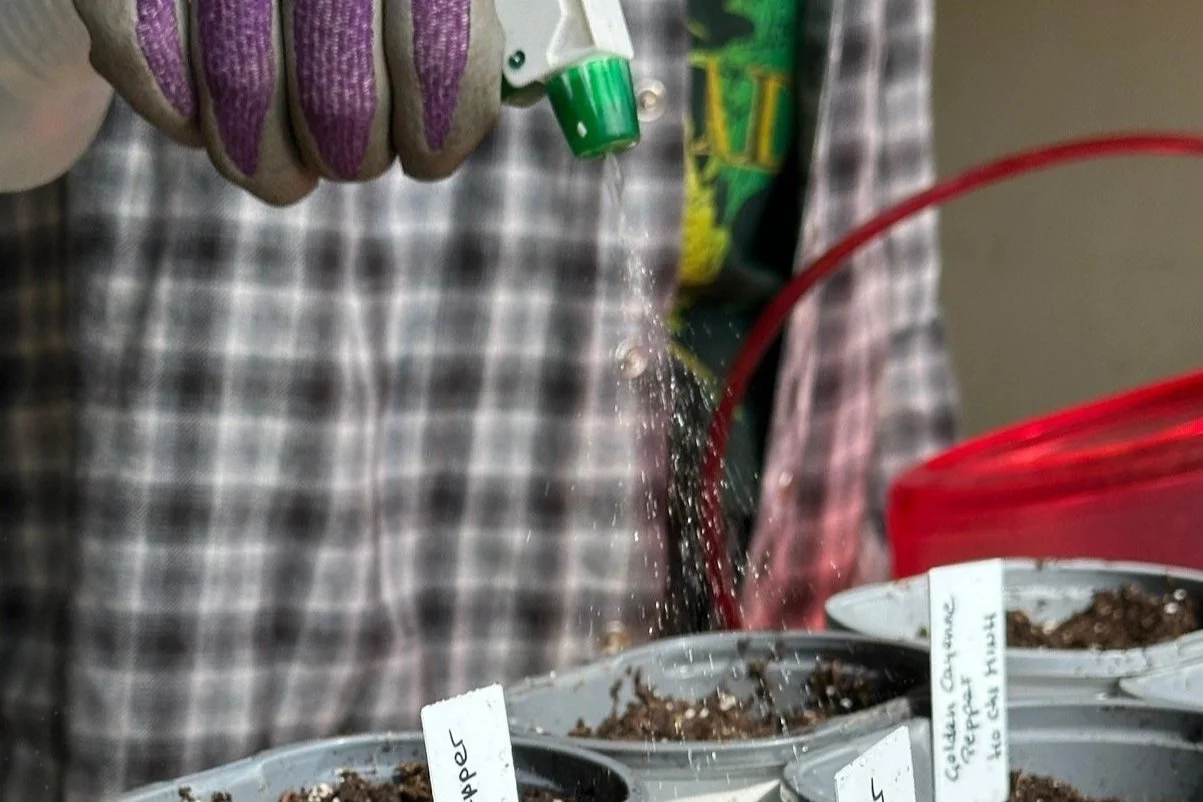
Water and Care: After thinning, give the remaining seedlings some water and continue to care for them as usual.


Thinning might not always be enough to give your seedlings the space they need to thrive. Here’s how to determine if it's time to go beyond thinning and start transplanting.
Signs You Should Transplant:
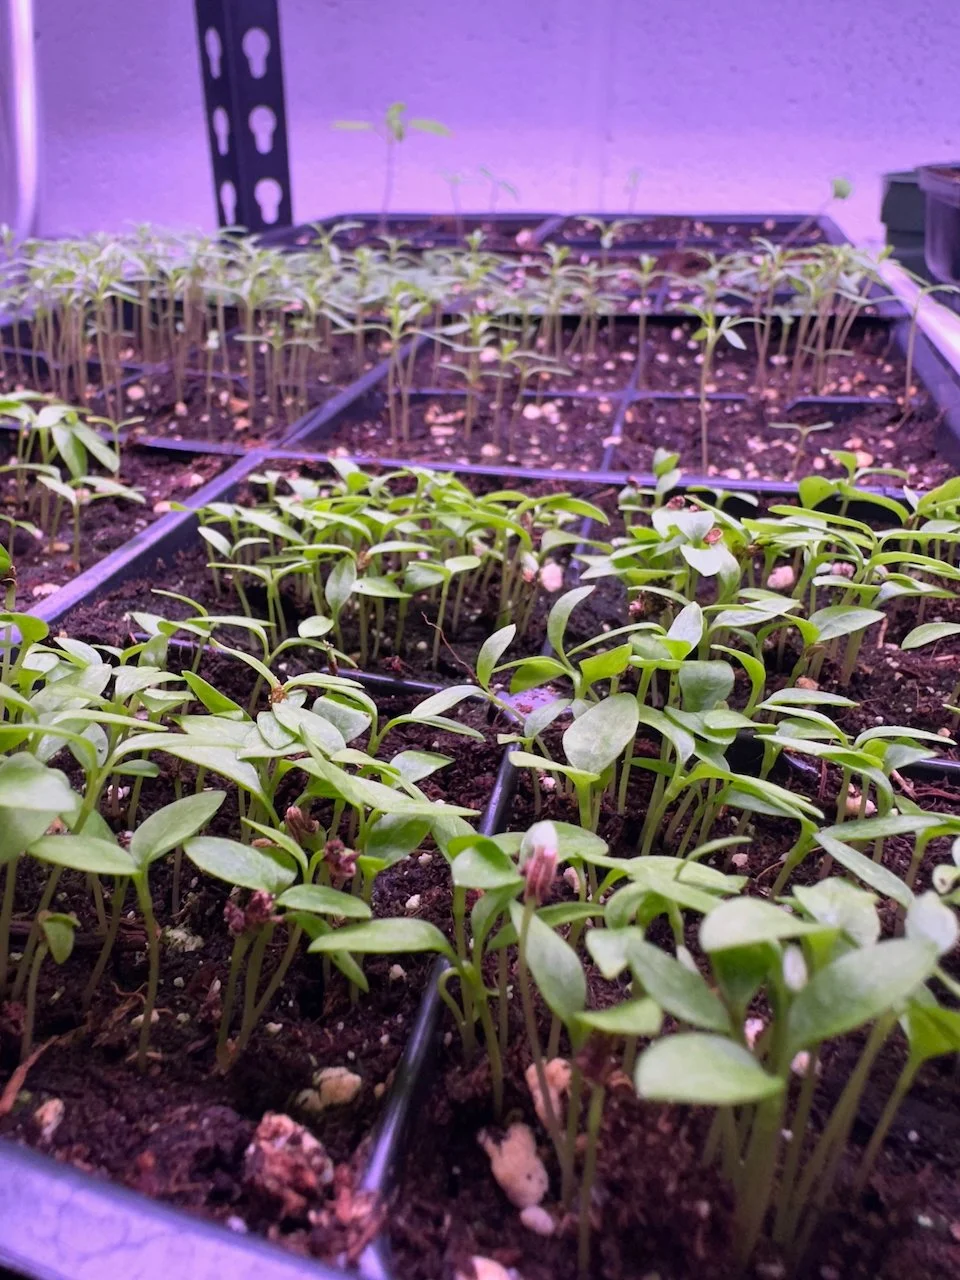
Severe Overcrowding: If your seedlings look like they're competing in a plant version of a sardine can contest, it’s probably time to transplant.
Slow Growth: If your seedlings are growing at a snail's pace despite thinning, they may need more space and nutrients than thinning alone can provide.
Transplant to Nutrient-Rich Soil: If your seedlings are experiencing slow growth despite being thinned, it could also be due to the fact that the seed starting soil has run out of nutrients. Seed starting mixes are designed to be lightweight and fine, making it easier for seedlings to germinate. However, these mixes often lack the nutrients that growing plants need. If transplanting isn't an immediate option, you can start adding a diluted, balanced fertilizer to provide the necessary nutrients. Be careful not to over-fertilize, as this can harm the seedlings.
Yellowing Leaves: This can be a sign of nutrient deficiency, indicating that your plants are competing too hard for resources.
Leggy Seedlings: If your seedlings are tall and spindly with weak stems, they might be stretching for light and would benefit from more space and better light exposure.


How to Transplant Seedlings:
1. Prepare the New Home: Choose a larger container with enough space for each plant to spread its roots and thrive. Opt for high-quality soil that’s rich in organic matter and nutrients. Adding compost or well-rotted manure can boost the nutrient content, providing a fertile environment for your seedlings. Good drainage is essential to prevent waterlogging, which can lead to root rot.
2. Hydrate seedlings before: Just like athletes need to stay hydrated before a big game, your seedlings need a good drink before the transplant. This helps them stay resilient and better handle the stress of being moved. Moist soil is softer and more pliable, making it easier to lift seedlings without damaging their delicate root systems. This helps reduce the risk of tearing roots and causing transplant shock. When you water the seedlings before transplanting, it ensures that the roots are moist and ready to establish contact with the new soil. This promotes better root-to-soil contact, which is crucial for nutrient and water uptake. A good drink before transplanting will help them settle into their new home more comfortably

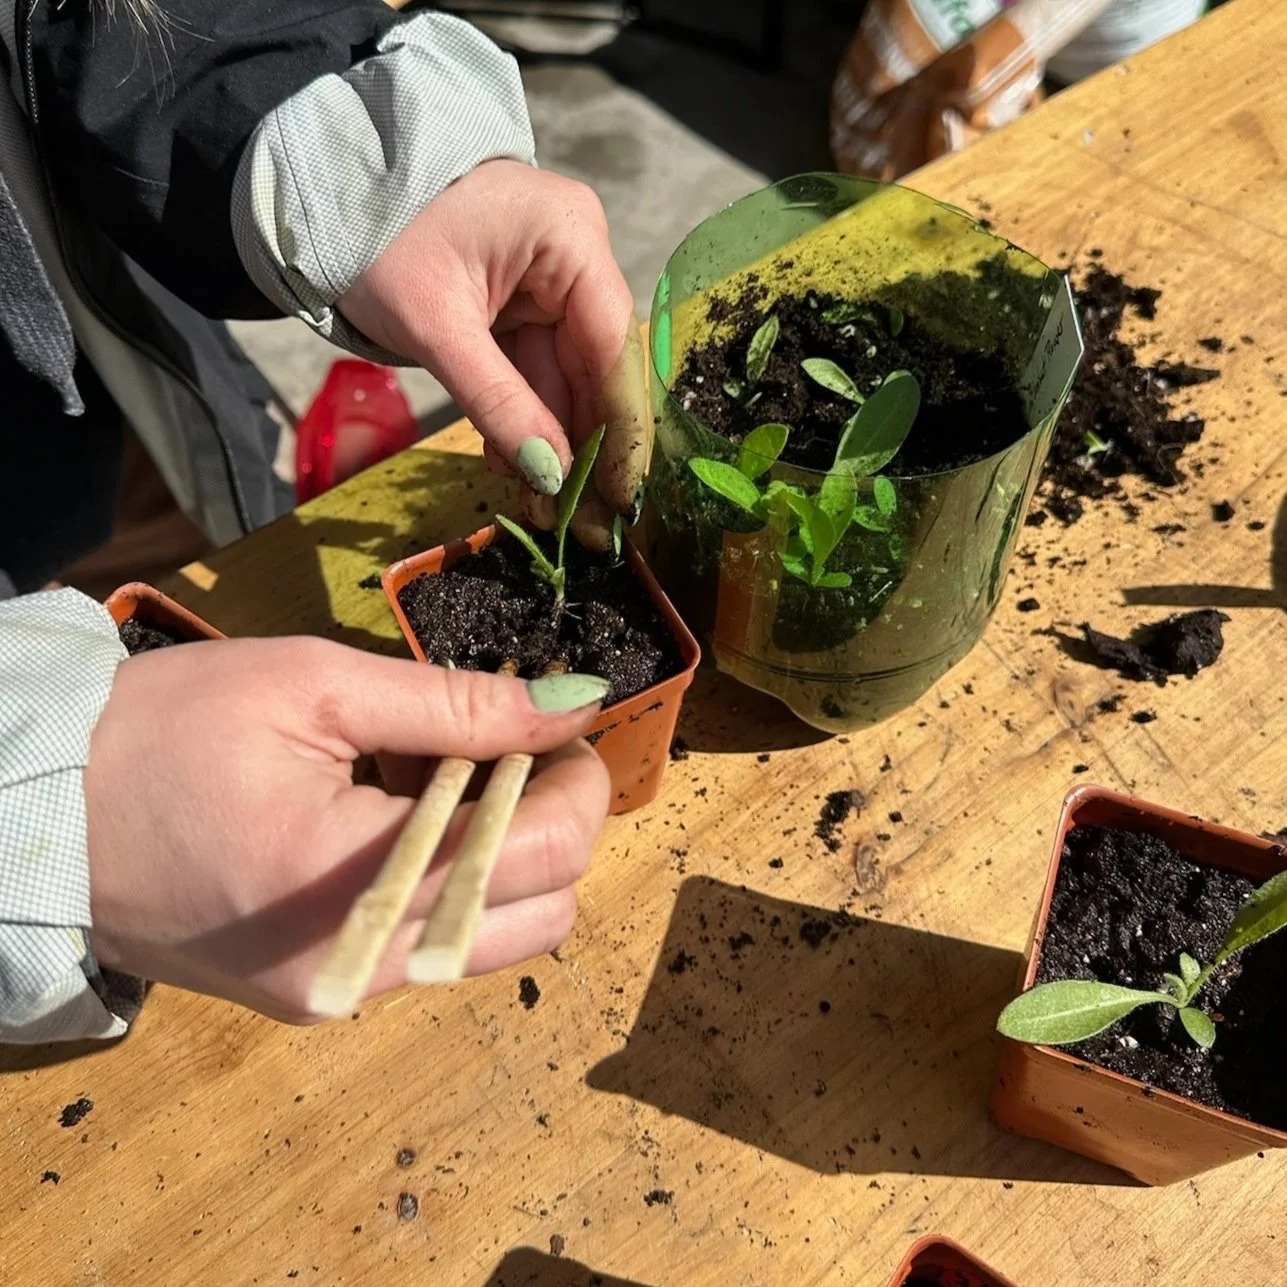
3. Gently Lift the Seedlings: Use a small tool or your fingers to carefully lift the seedlings from their current spot, taking care not to damage their roots. We love using wooden chopsticks for this delicate task—they’re like magic wands for gardeners! Hold the seedlings by their leaves, not their stems, to avoid crushing their fragile structures. Remember, gravity can be your best friend in this process, especially if the seedlings have developed a strong root system already.
4. Transplant with Care: Dig a hole in the new spot that’s large enough to accommodate the seedling’s root system. The hole should be deep and wide enough for the roots to spread out comfortably without being cramped. Carefully position the seedling in the hole. Make sure the roots are spread out and not twisted or clumped together. The goal is to have the seedling sitting at the same depth it was in its original location. If the seedling was in a pot, aim to have the soil level in the new hole match the soil level in the pot. Gently backfill the hole with soil, covering the roots completely. Lightly press down the soil around the seedling to eliminate any air pockets and ensure good contact between the roots and the soil. Be careful not to compact the soil too much, as this can hinder root growth.
5. Water: After transplanting, water the seedlings thoroughly. Transplanting can be a bit traumatic for seedlings. Giving them a good drink helps them settle into their new home and reduces stress. Moisture encourages the roots to grow deeper into the soil, helping the seedlings establish a strong and stable root system. Watering helps to eliminate any air pockets that might have formed during the transplant process, ensuring that the roots have good contact with the soil.
Keep an eye on your transplanted seedlings and continue to care for them as they adjust to their new environment. Before you know it, they’ll be thriving in their new spacious digs!