Step By Step To Winter Sowing
Embark on your winter sowing adventure with our detailed step-by-step guide! Whether you’re a seasoned gardener or just starting out, we’re here to help you every step of the way. Below, you’ll discover everything you need to know to make winter sowing a success. Let this guide be your trusted companion as you dive into the rewarding and magical process of growing your plants during the winter season. We’re so excited to be part of your gardening journey!
If you’re feeling inspired but haven’t gathered your materials yet, don’t worry—we’ve got you covered! Check out our article Materials for Winter Sowing to get everything you need to start your winter sowing journey.
Collect Containers - This might take some time, so it’s best to start early! Consider beginning in summer or fall, depending on how many plants you plan to grow. We covered which containers work best and which ones to avoid in Materials for Winter Sowing—be sure to refer back to that section.
Plan Your Seeds - The planning stage is crucial. Determine how many plants you want to grow and where they’ll be planted. For more details, check out the section Planning Your Native Garden. By planning ahead, you’ll save time when prepping your containers and avoid over-preparing, which could leave you short on seeds to fill them.
Wash Your Containers - Thoroughly wash all the containers you plan to use. Any leftover food residue could lead to mold and harm your plants. Also, remember to remove labels from your containers to allow as much light in as possible.

4. Prep Containers
After washing your containers, cut or drill holes in both the tops and bottoms. This will allow water to drain out, air to circulate, and excess moisture to escape—key factors for preventing algae or mold and keeping the roots healthy.
If the containers you’re using don’t have lids, you’ll need to cut them in half. Be sure to cut high enough to leave at least 3–4 inches of space for soil. We recommend cutting most of the way around the container but leaving a small section attached to act as a hinge. This makes it much easier to tape the pieces back together later.
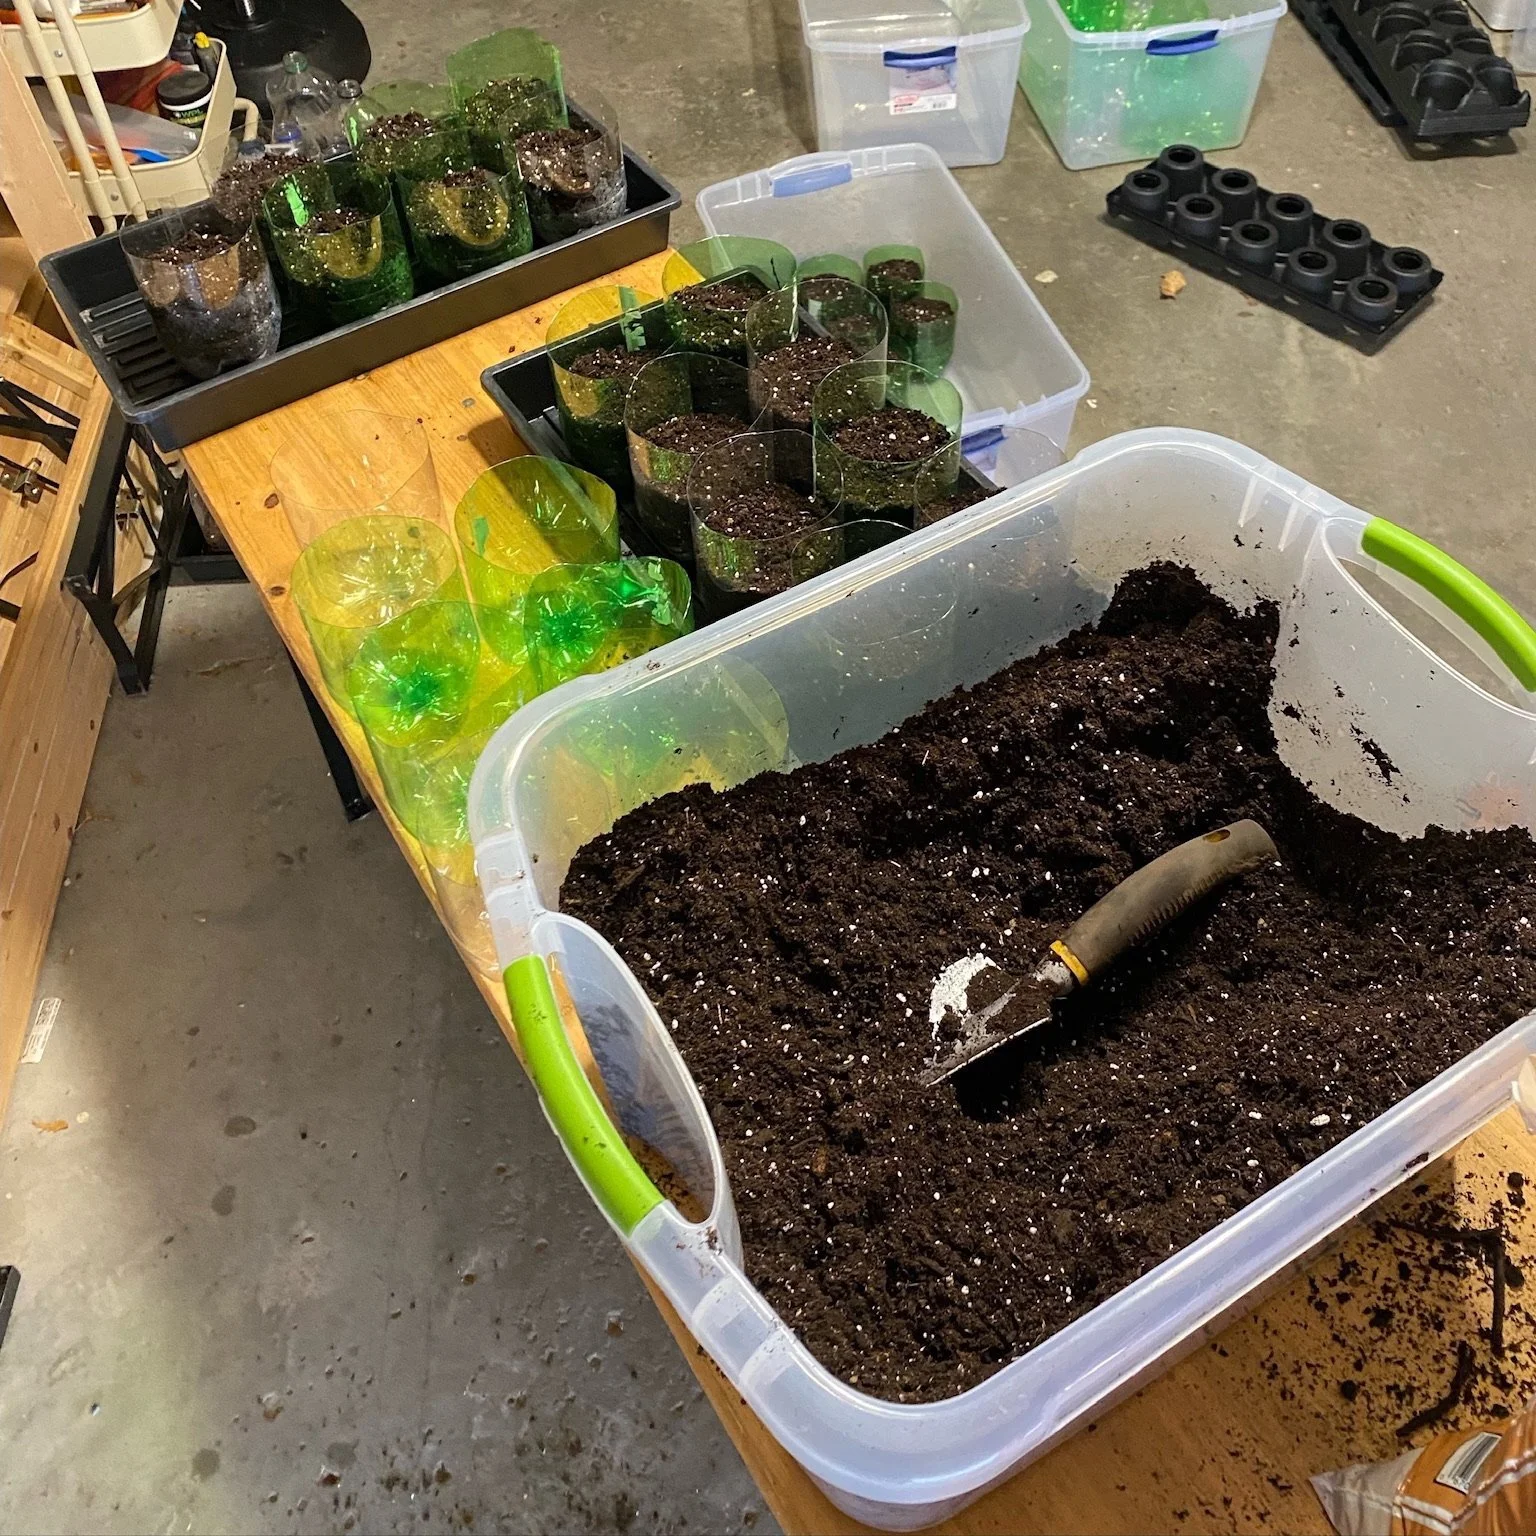
5. Mix Soil With Water - We recommend using a large tub to mix your soil thoroughly. Avoid using dry soil for sowing seeds—it needs to be moist for optimal germination. Gradually pour water into the soil while stirring to achieve the right consistency. The soil should be damp enough to hold its shape when gently squeezed into a ball but not so wet that it becomes muddy or soggy.
6. Add Soil to Containers - Once your soil is properly mixed and moistened, fill the bottom of your containers with at least 3–4 inches of soil. Press the soil down firmly to provide stability, but avoid compacting it too much—the delicate roots need space to grow and penetrate through the soil.
7. Plant Seeds
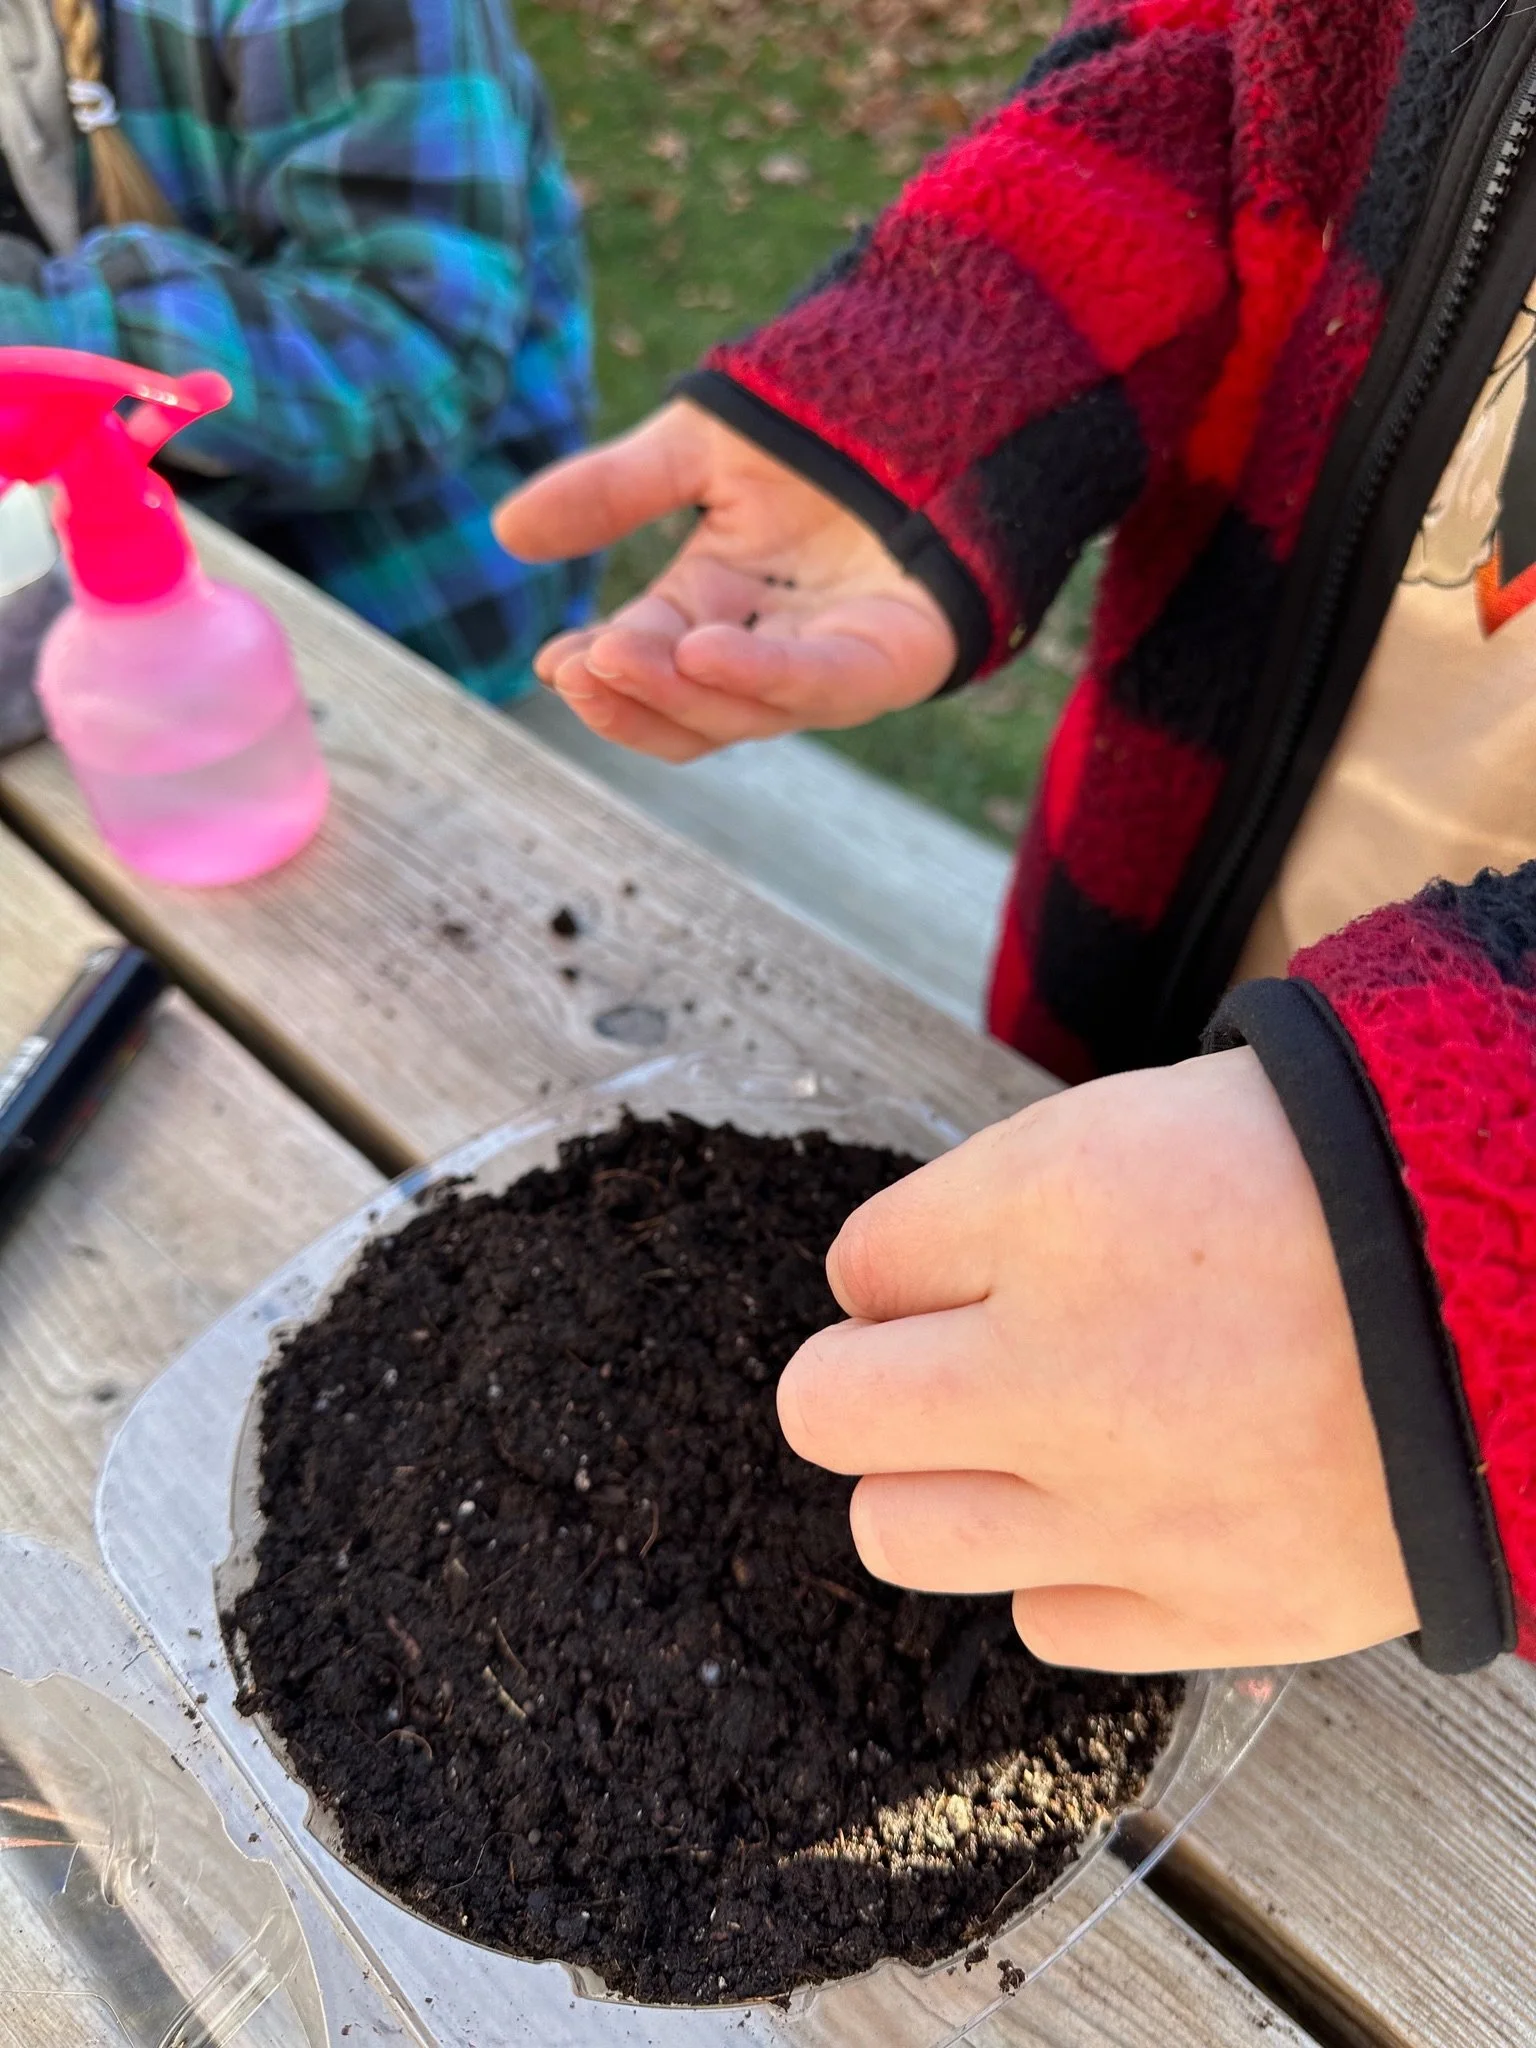
After adding the soil, it's time to plant your seeds. Be sure to read about the specific requirements of your seeds beforehand to know how deeply they should be planted. For seeds that need light to germinate, spread them evenly on the surface of the soil and gently pat them in place to keep them from moving around. Some seeds, like Asters, have a pappus—the fluffy structure that helps them float on the wind. For these types of seeds, sprinkle a very fine layer of sand on top to hold them in place without fully covering them.
8. Water - After planting, water your seeds to settle them into the soil. Use a spray bottle set to mist to avoid disturbing the seeds while providing gentle and even moisture.
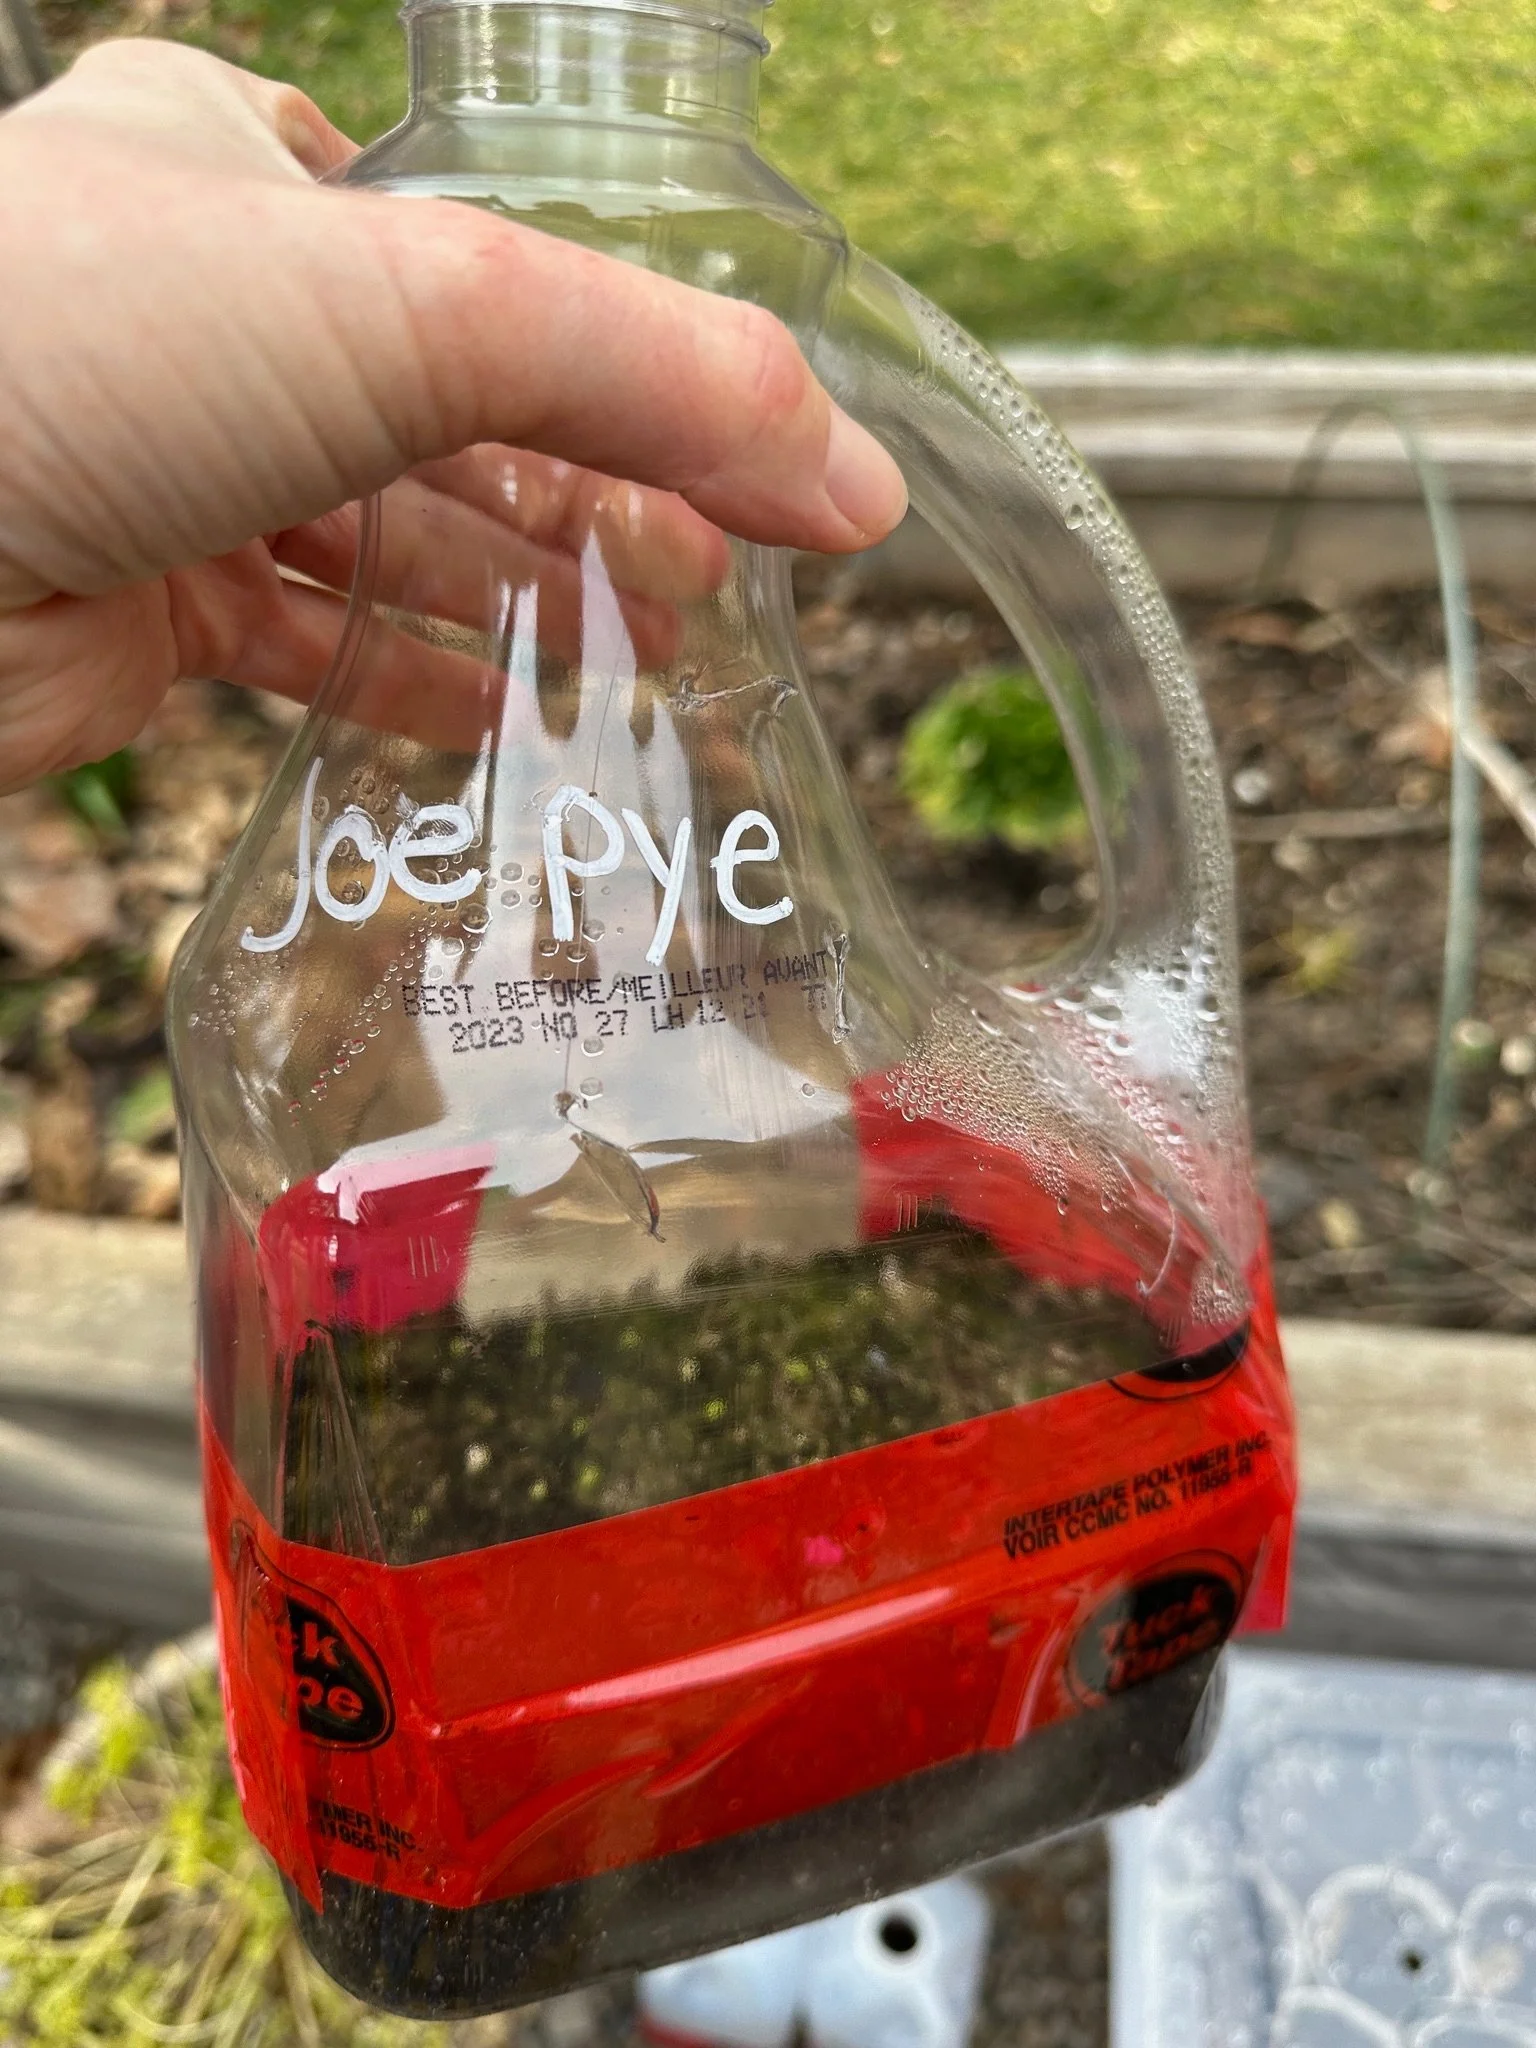
9. Label Containers - This step is absolutely essential!!! If you're planting a variety of seeds, you'll want to keep track of what's in each container. Winter is long, and it's easy to forget. Clearly labeling your containers will save you a lot of confusion later.
10. Tape Containers - Once your seeds are planted, watered, and labeled, securely close your containers. Use strong, light-permeable tape to seal the containers, creating mini greenhouses that will protect the seeds throughout the winter.

11. Place Outside - Find an outdoor spot where the containers will receive sunlight and be exposed to natural elements. Avoid placing them in full sun all day, as this can dry out the soil too quickly. Partial shade works best.
12. Leave Outdoors All Winter - Your containers will stay outside all winter. Periodically check to ensure they have some moisture and haven't been tipped over. If you notice they're drying out—especially in early spring as the sun becomes stronger—use your spray bottle to mist them lightly.
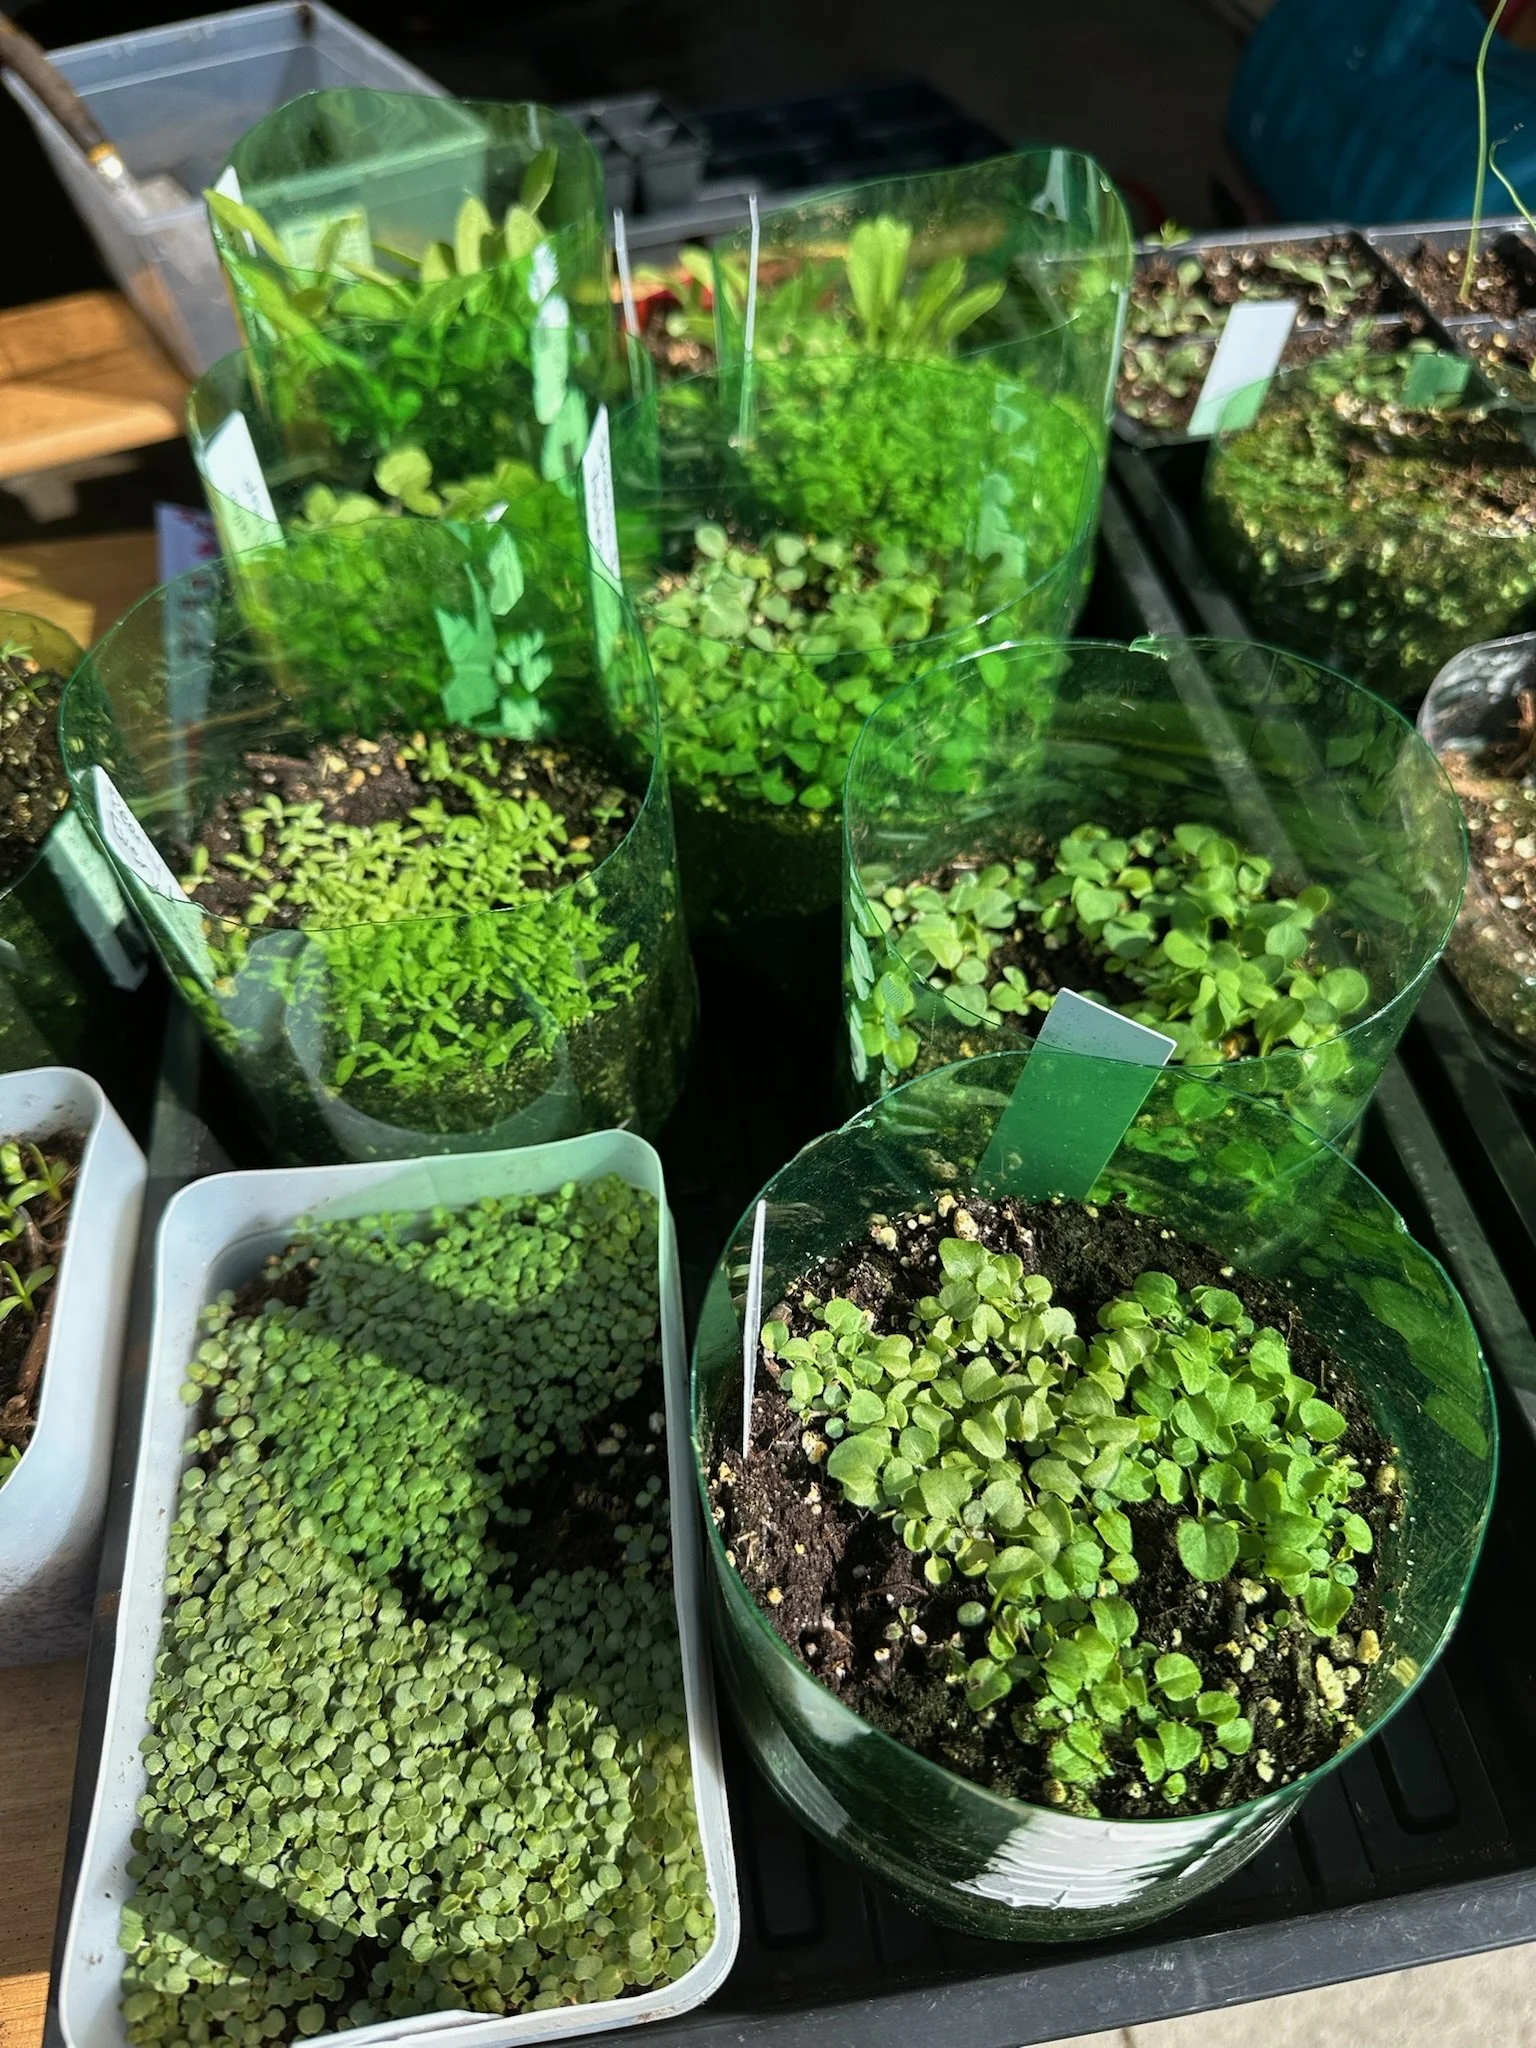
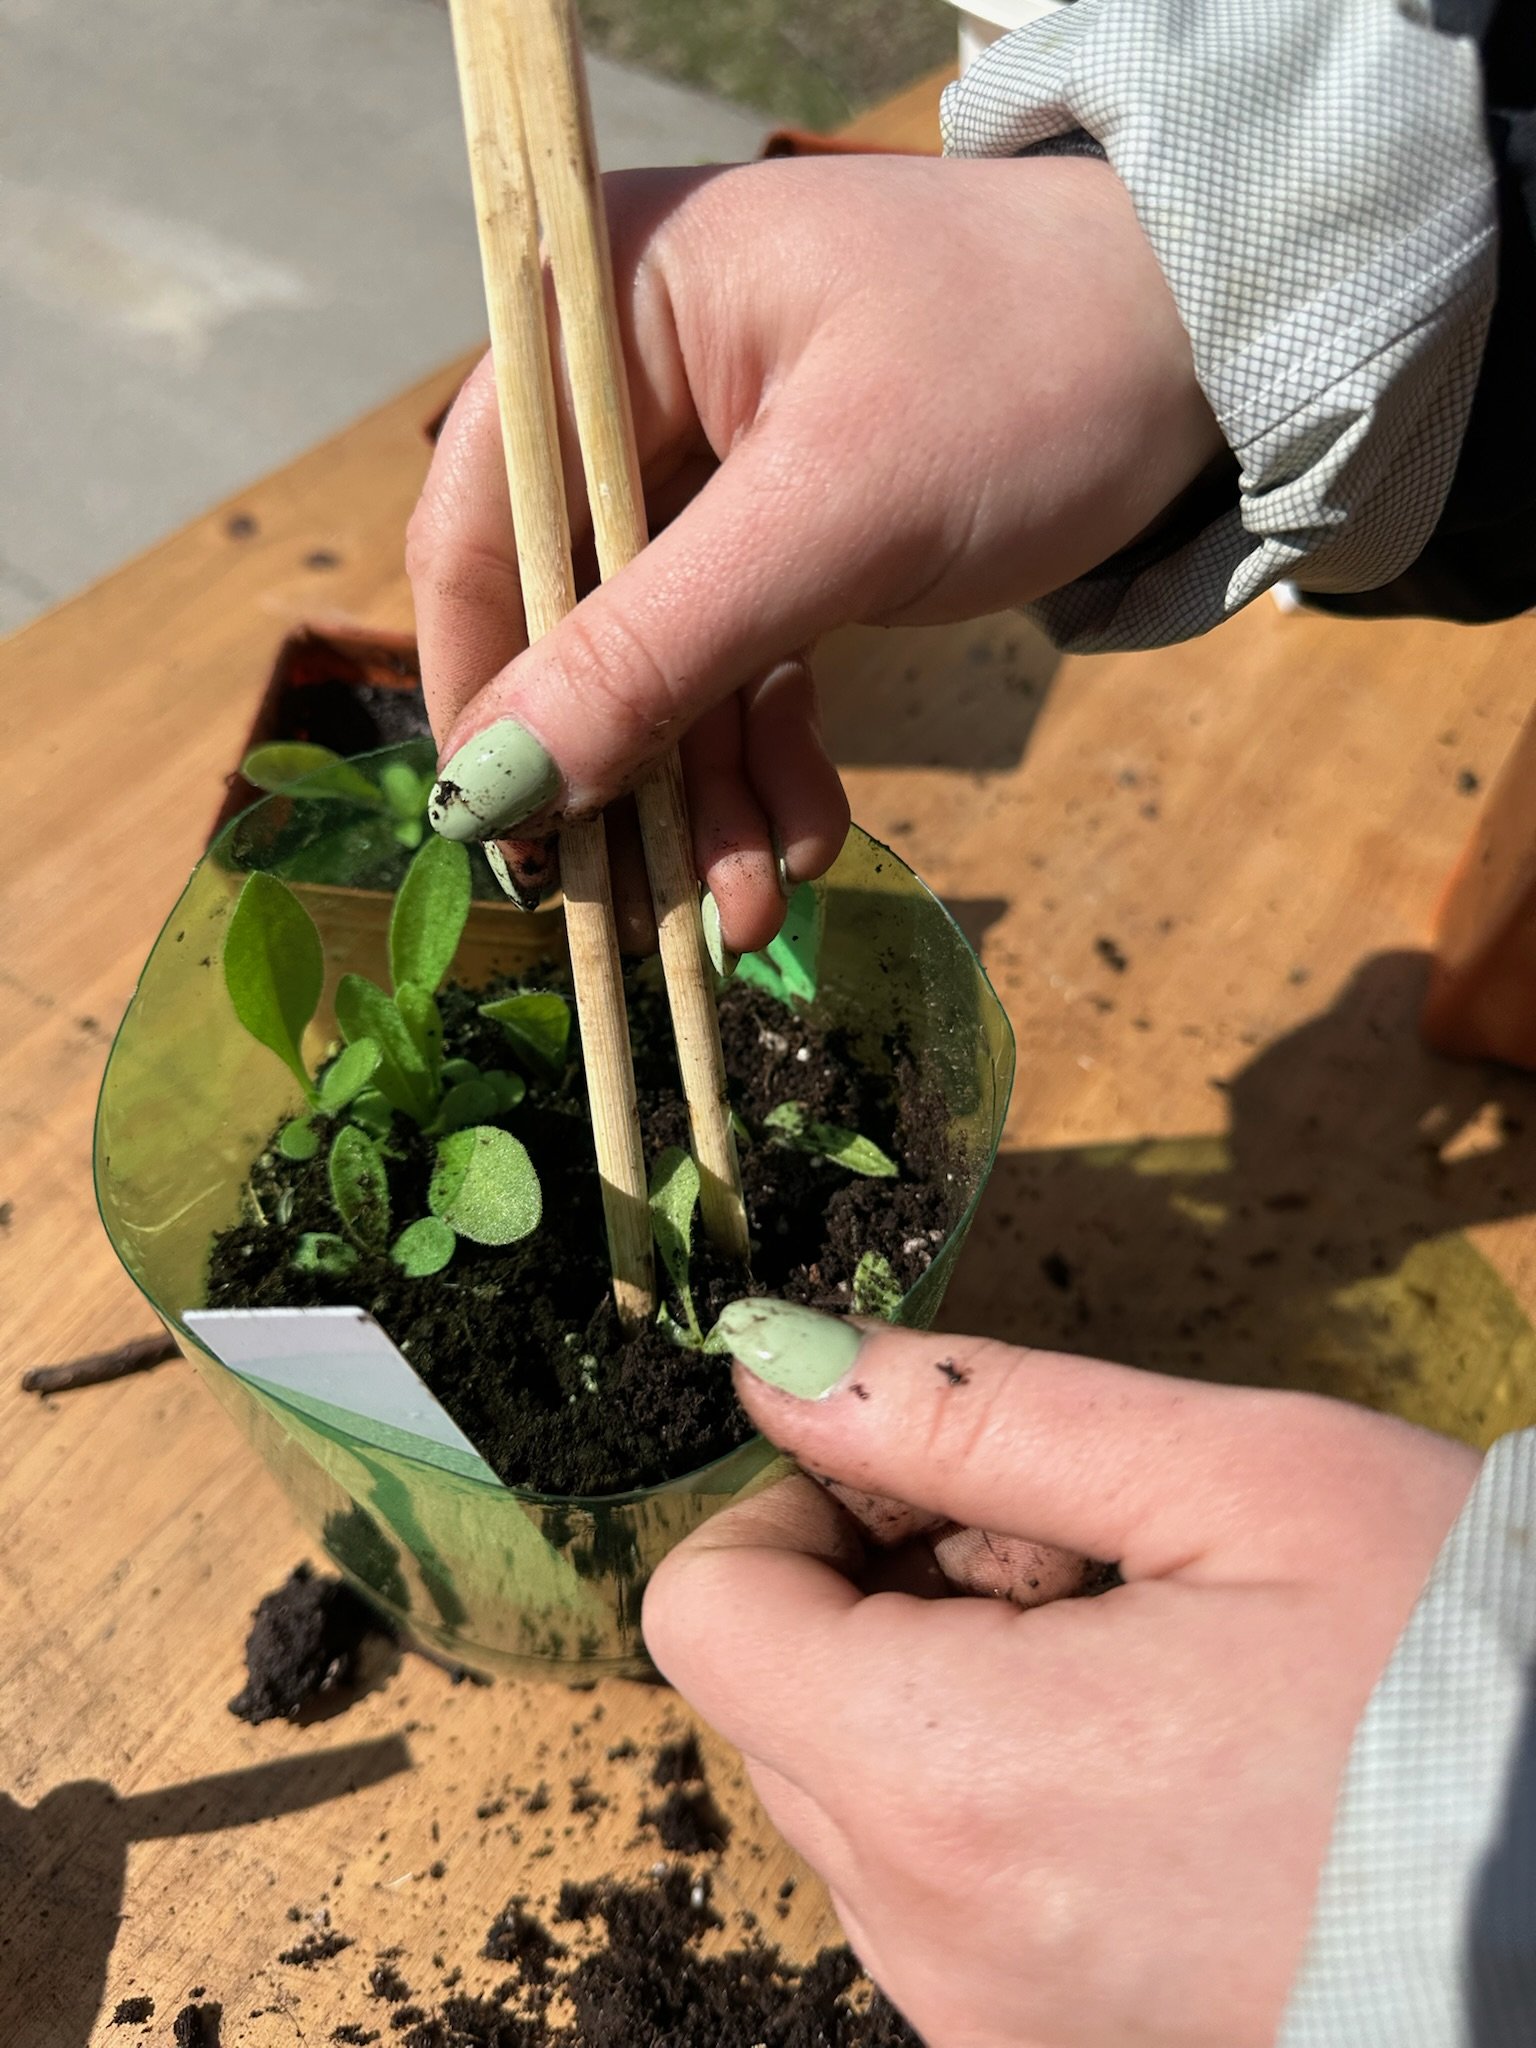
13. Check on Seedlings - In early spring, begin checking your containers more frequently for signs of growth. Look out for seedlings emerging. Once the seedlings have at least three true leaves (the second set of leaves resembling the mature plant's shape), they are ready for transplanting. Depending on the weather, you may need to keep the seedlings indoors temporarily until the risk of frost has passed, as they no longer have the protection of their mini greenhouses.
14. Harden Off Young Plants - Your young plants need to acclimate to outdoor conditions before being planted in their final spots. Without the protection of their mini greenhouses, they could be stressed by frost or strong winds. Start by bringing them indoors at night and gradually leaving them outside for a few hours each day. As the weather warms, extend their time outdoors until they’re fully adjusted. Once hardened off, you can plant them in their permanent locations.


Our Top Choice for Winter Sowing
Our recommended method for winter sowing has proven to be highly effective and comes with numerous advantages—especially for gardeners growing a variety of plants. This approach is much tidier during the winter months and allows for easier movement of plants as needed. Over time, it also reduces effort—drilling holes in larger bins is far more efficient than working on individual containers.
Another benefit is that you can organize your plants based on their light requirements, keeping them neatly grouped together for better management. This system simplifies the process and helps you stay organized throughout the season.
When it’s time to transplant, this method eliminates the hassle of opening each individual container. Instead, you can simply remove a pot, transplant the seedlings that are ready, and return the pot to the bin for continued growth. This saves time and effort, especially if you’re transplanting in stages.
Step By Step
Collect Materials Needed - Materials Needed For Winter Sowing Make sure to check how many pots/containers can fit in your bin and collect that amount. You don’t want to prep too many containers any they don’t all fit.
Wash and Prep Pots or Containers - If you’re using old plant pots, sanitize them thoroughly to avoid transferring any pathogens or pest eggs. A simple vinegar soak works well—let the vinegar sit for about 5 minutes, then rinse the pots clean. For recycled containers, rinse them out, drill drainage holes at the bottom, and cut them in half to prepare them for planting.
3. Drill Holes in Bin - You can use your drill to make holes in both the lid and the bottom of the bins. This is to allow water to enter and exit and for airflow. Do not make the holes too large which might allow little critters to enter the mini greenhouse.
4. Mix Soil with Water - Ensure the soil is moist before planting. Use an empty pot or bin to mix the soil with water, but avoid adding too much, as you don’t want the consistency to become muddy. The soil should feel damp but still hold together loosely.
5. Add Soil to Containers - Fill each container with at least 4 inches of soil to provide ample space for the plants’ roots to grow. Gently press down the soil to compact it slightly, but not so much that it becomes hard for roots to penetrate. Add more soil if needed to reach the desired level.
6. Plant Seeds - Plant your seeds according to their specific needs. Be sure to refer to the seed packet or guidelines for proper depth and spacing.
7. Water Seeds In - Gently water your seeds after planting to help settle them into the soil. A spray bottle set to mist works best, as it won’t disturb the seeds.
8. Label Containers - Don’t skip this essential step! Label each pot or container as you go, either by writing directly on the container or using plant tags. This will save you the trouble of trying to identify plants later.

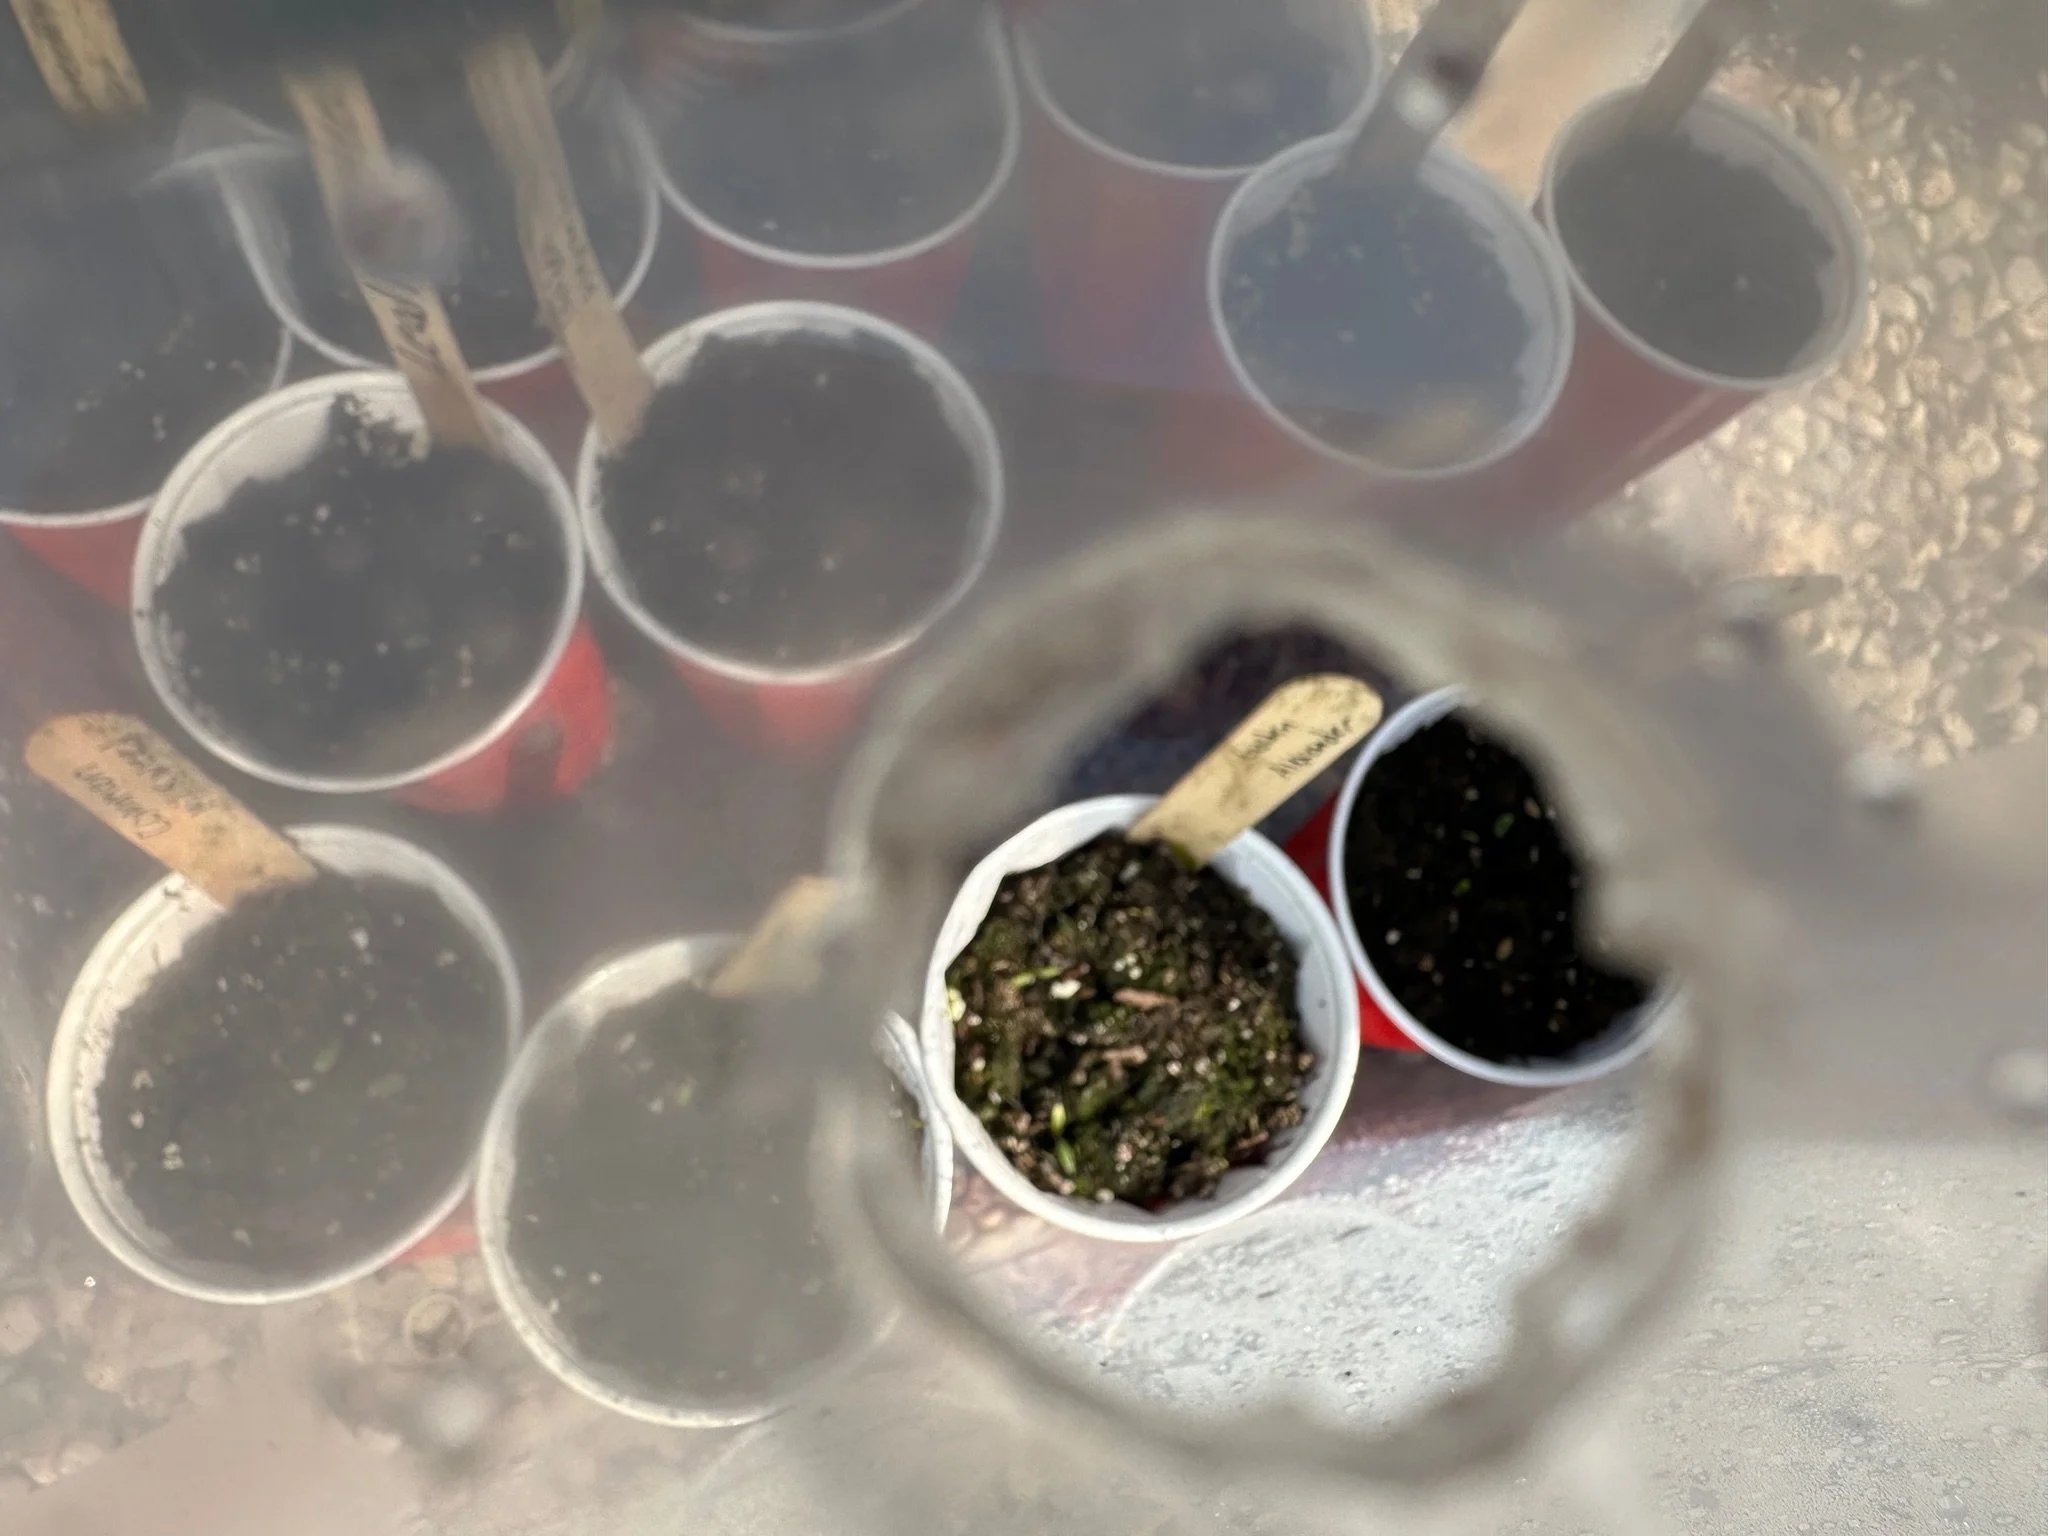
9. Place Pots in Bin - Once all your seeds are planted, place the pots inside the bin. Then, secure the lid on the bin to create a mini greenhouse environment.
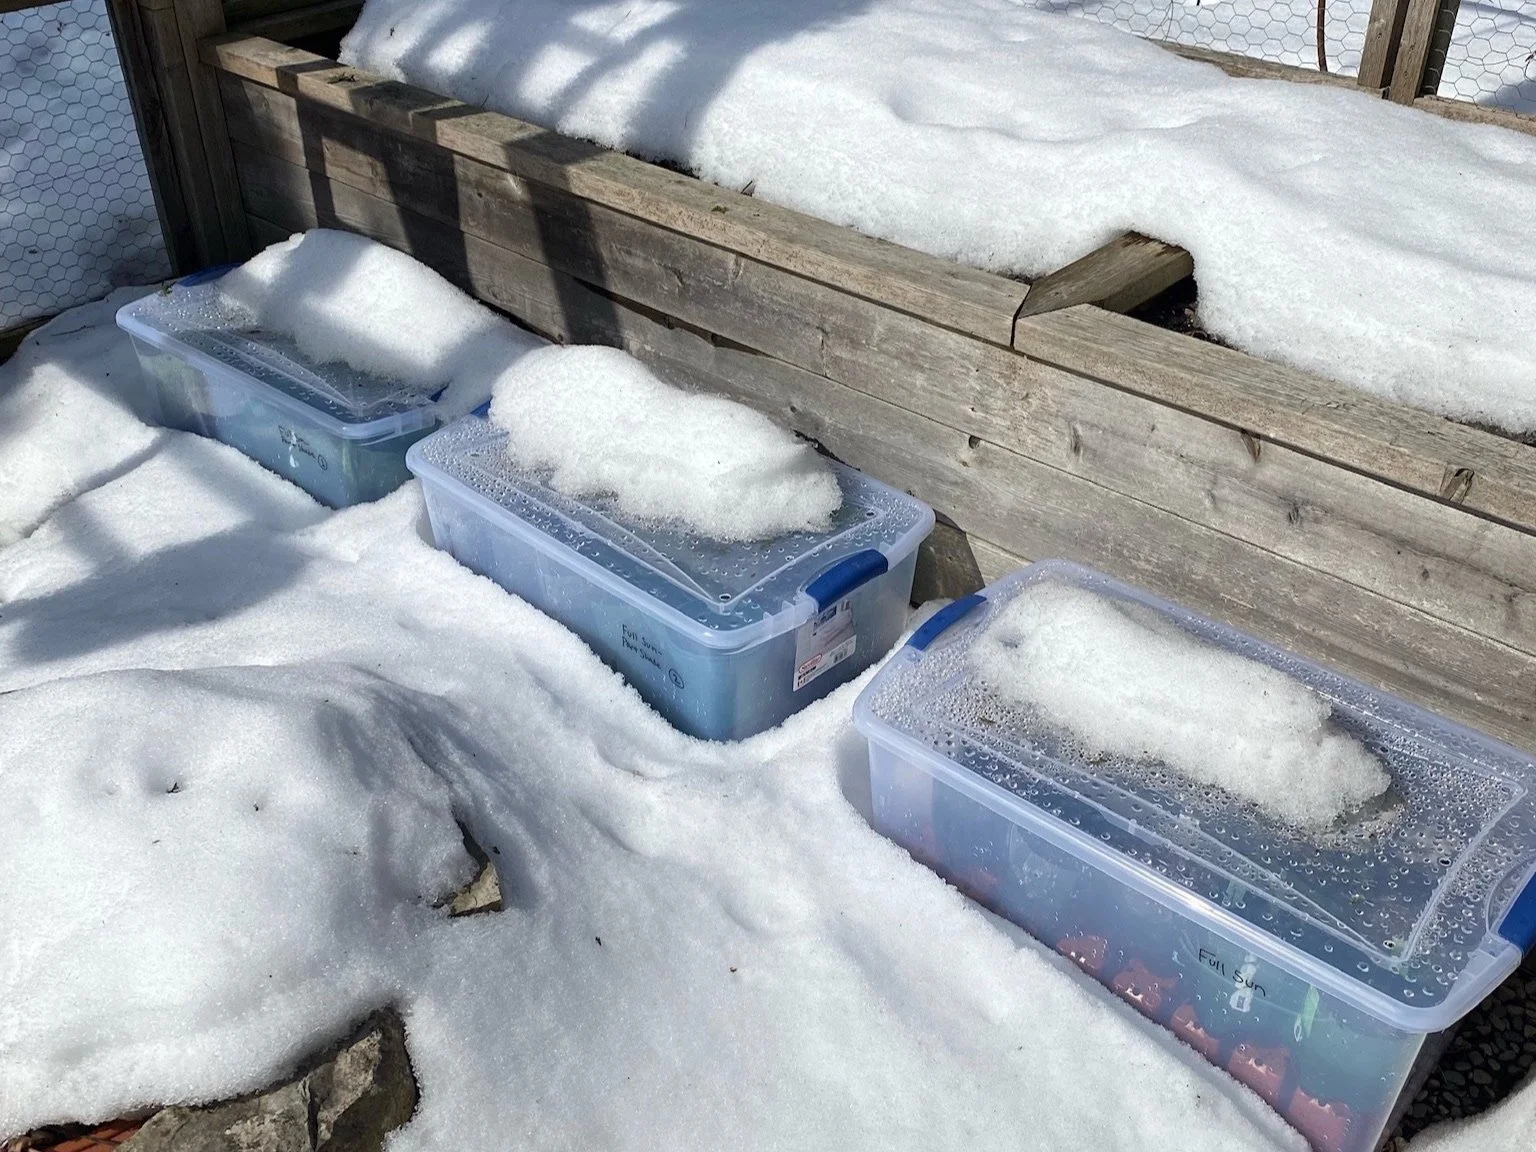
10. Put Bin Outside - Find an outdoor spot where the bin can get adequate sunlight, but avoid placing it in direct sunlight all day, as this can dry out the soil too quickly. The location should also allow the bin to be exposed to natural elements like snow, rain, and freezing temperatures.
11. Leave Outside and Check Occasionally - Leave the bin outside throughout the winter so the seeds can experience the necessary cold conditions. Check on it periodically to ensure the pots remain slightly moist (or frozen) and haven’t tipped over. As the weather warms in early spring, refer back to steps 13 and 14 to monitor and care for your growing seedlings.