Materials For Winter Sowing

Container Selection
Winter sowing is a great way to reuse those single use plastics. There are a lot of different containers that will work for this project but you may come across some that are not the best choice. Ask your friends and family for their empty containers if you don’t go through enough of these products on your own. Through some trial and error we have compiled a list of the containers that work well and some you might want to avoid.
Use These
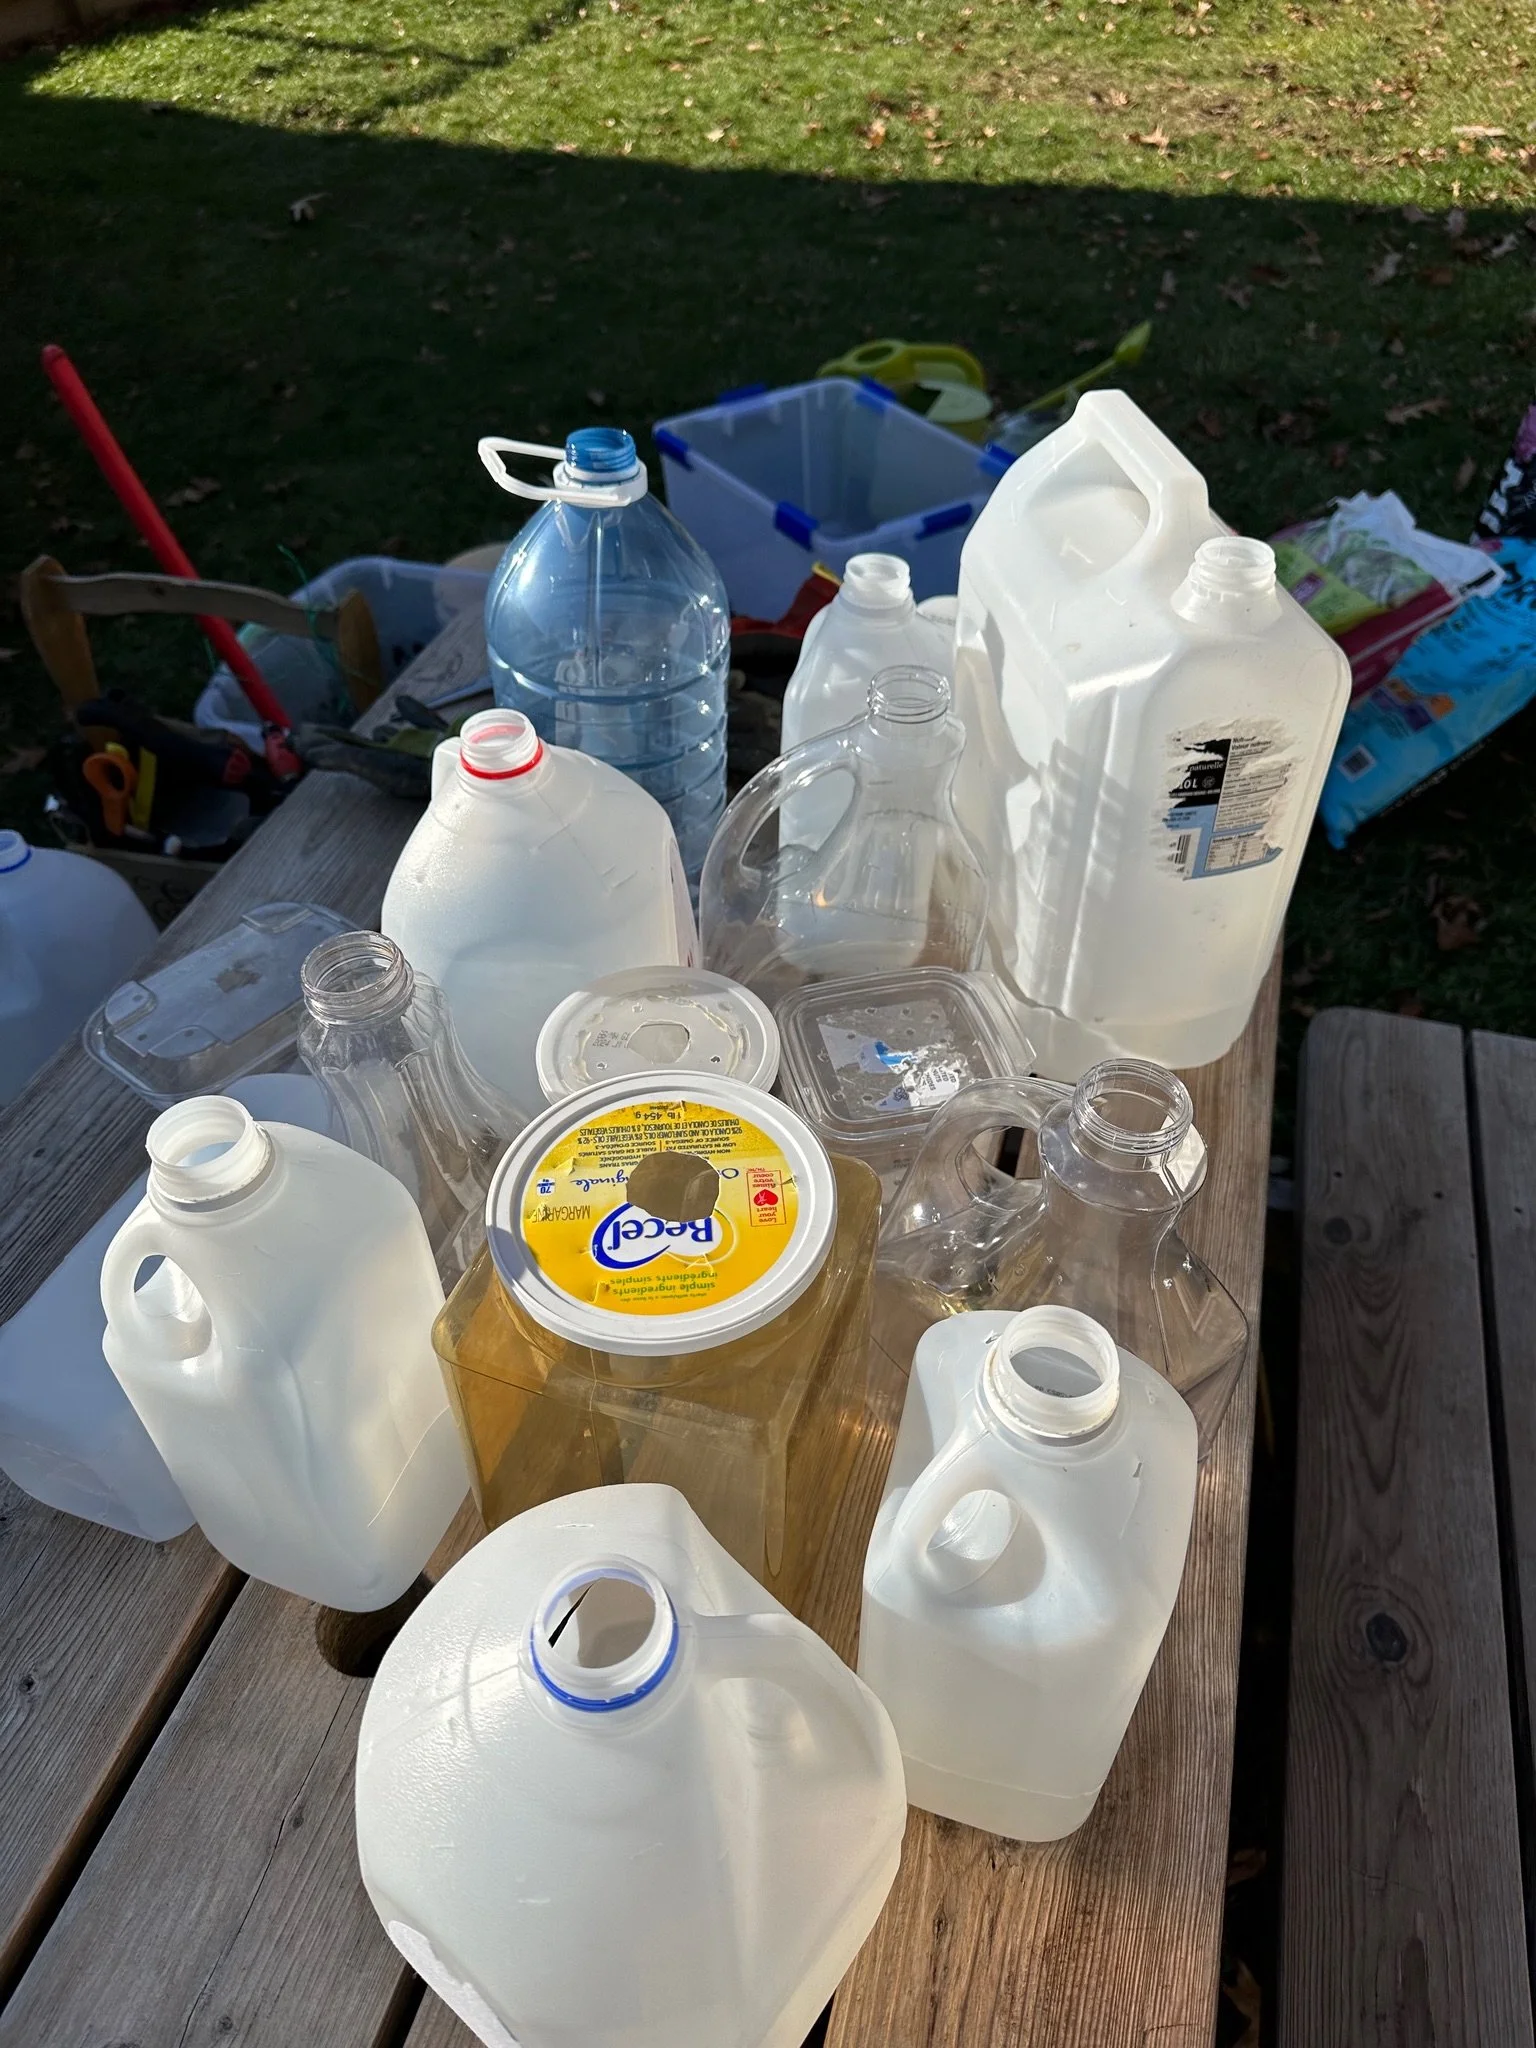
Milk Jugs: These are probably the most common container used for winter sowing. They are large enough to grow a lot of little seedlings and a lot of household purchase milk frequently. Here in Canada milk often comes in bags or cartons. This makes milk jugs harder to come by and we usually use other container types.
Juice Jugs: Since we don’t usually purchase milk in jugs, our next best option is to use juice jugs. They should be at least 1 Litre or more in size. As long as the plastic is clear or slightly opaque to let enough light in.
Pop Bottles: 2 Litre bottles are a good size too use and pop bottles are fairly common in recycling bins. They are almost always clear and they tend to be easier to cut open than other plastic jugs.
Lettuce Containers: You can also use the large containers you might buy spinach or other greens in. If they are large enough they are another great container to use. Their lids make it easy to prepare them because you don’t have to cut the container in half. You just need to add some holes in the top to let water in and drainage holes at the bottom. We don’t use these as often because we prefer jugs that have more space for the plants to grow tall. They are still a great option as you will be reusing more plastic that would otherwise end up in the landfill.
Avoid These
Here are some containers you might want to avoid using for your winter sowing:
Bleach or Cleaning Products Containers: You can be 100% sure they are washed out properly and these products might kill your seedlings or leach into the plants affecting them longterm.
Oil Containers: Cooking oils or other oily products wont be the best choice because they will be incredibly hard top clean out and you might not b abl to get that oily residue off the container. It is bet to just avoid the hassle and stick to other products that ae easy to clean.
Small Containers: You should avoid any small containers that wont give the seedlings enough room to grow. They need 3-4 inches of soil for their roots and in small containers this may not leave enough space above the soil where the plants won’t be touching the top of the container.
Materials Needed
You can start winter sowing by first gathering all the materials you will need. We have put together a detailed list to guide you along this process. A lot of these materials will be laying around your house but you might need to head to the store for a couple items.

Containers Or Bins: The first thing you will need is the containers. Above we went into detail about container selection. You now know what containers to start saving from your recycling bins. You should think ahead to how many varieties of plants you will be planting. Collect enough containers to hold all of these plants. Our new preferred way to winter sow is actually with a large clear storage bin. For this you will need a large clear bin and plant pots. We have also used 2 L pop bottles and cut them right in half and used the bottom halves as pots. A good way to reuse some plastic.
Soil: You will need a soil mixture to sow your seeds into. A lot of people use organic seed starting mix and have a lot of success with this. We have used seed starter in the past and it worked well for use. We have also used regular potting soil and this works well too. Our current preference is to mix seed starter with another well draining potting mix. The goal is to use a mixture that will drain well because the seeds should not be sitting in a lot of moisture constantly.
Exacto Knife: You can see in our step by step instructions what the exacto knife will be used for. It is a great tool to have for cutting the containers open.
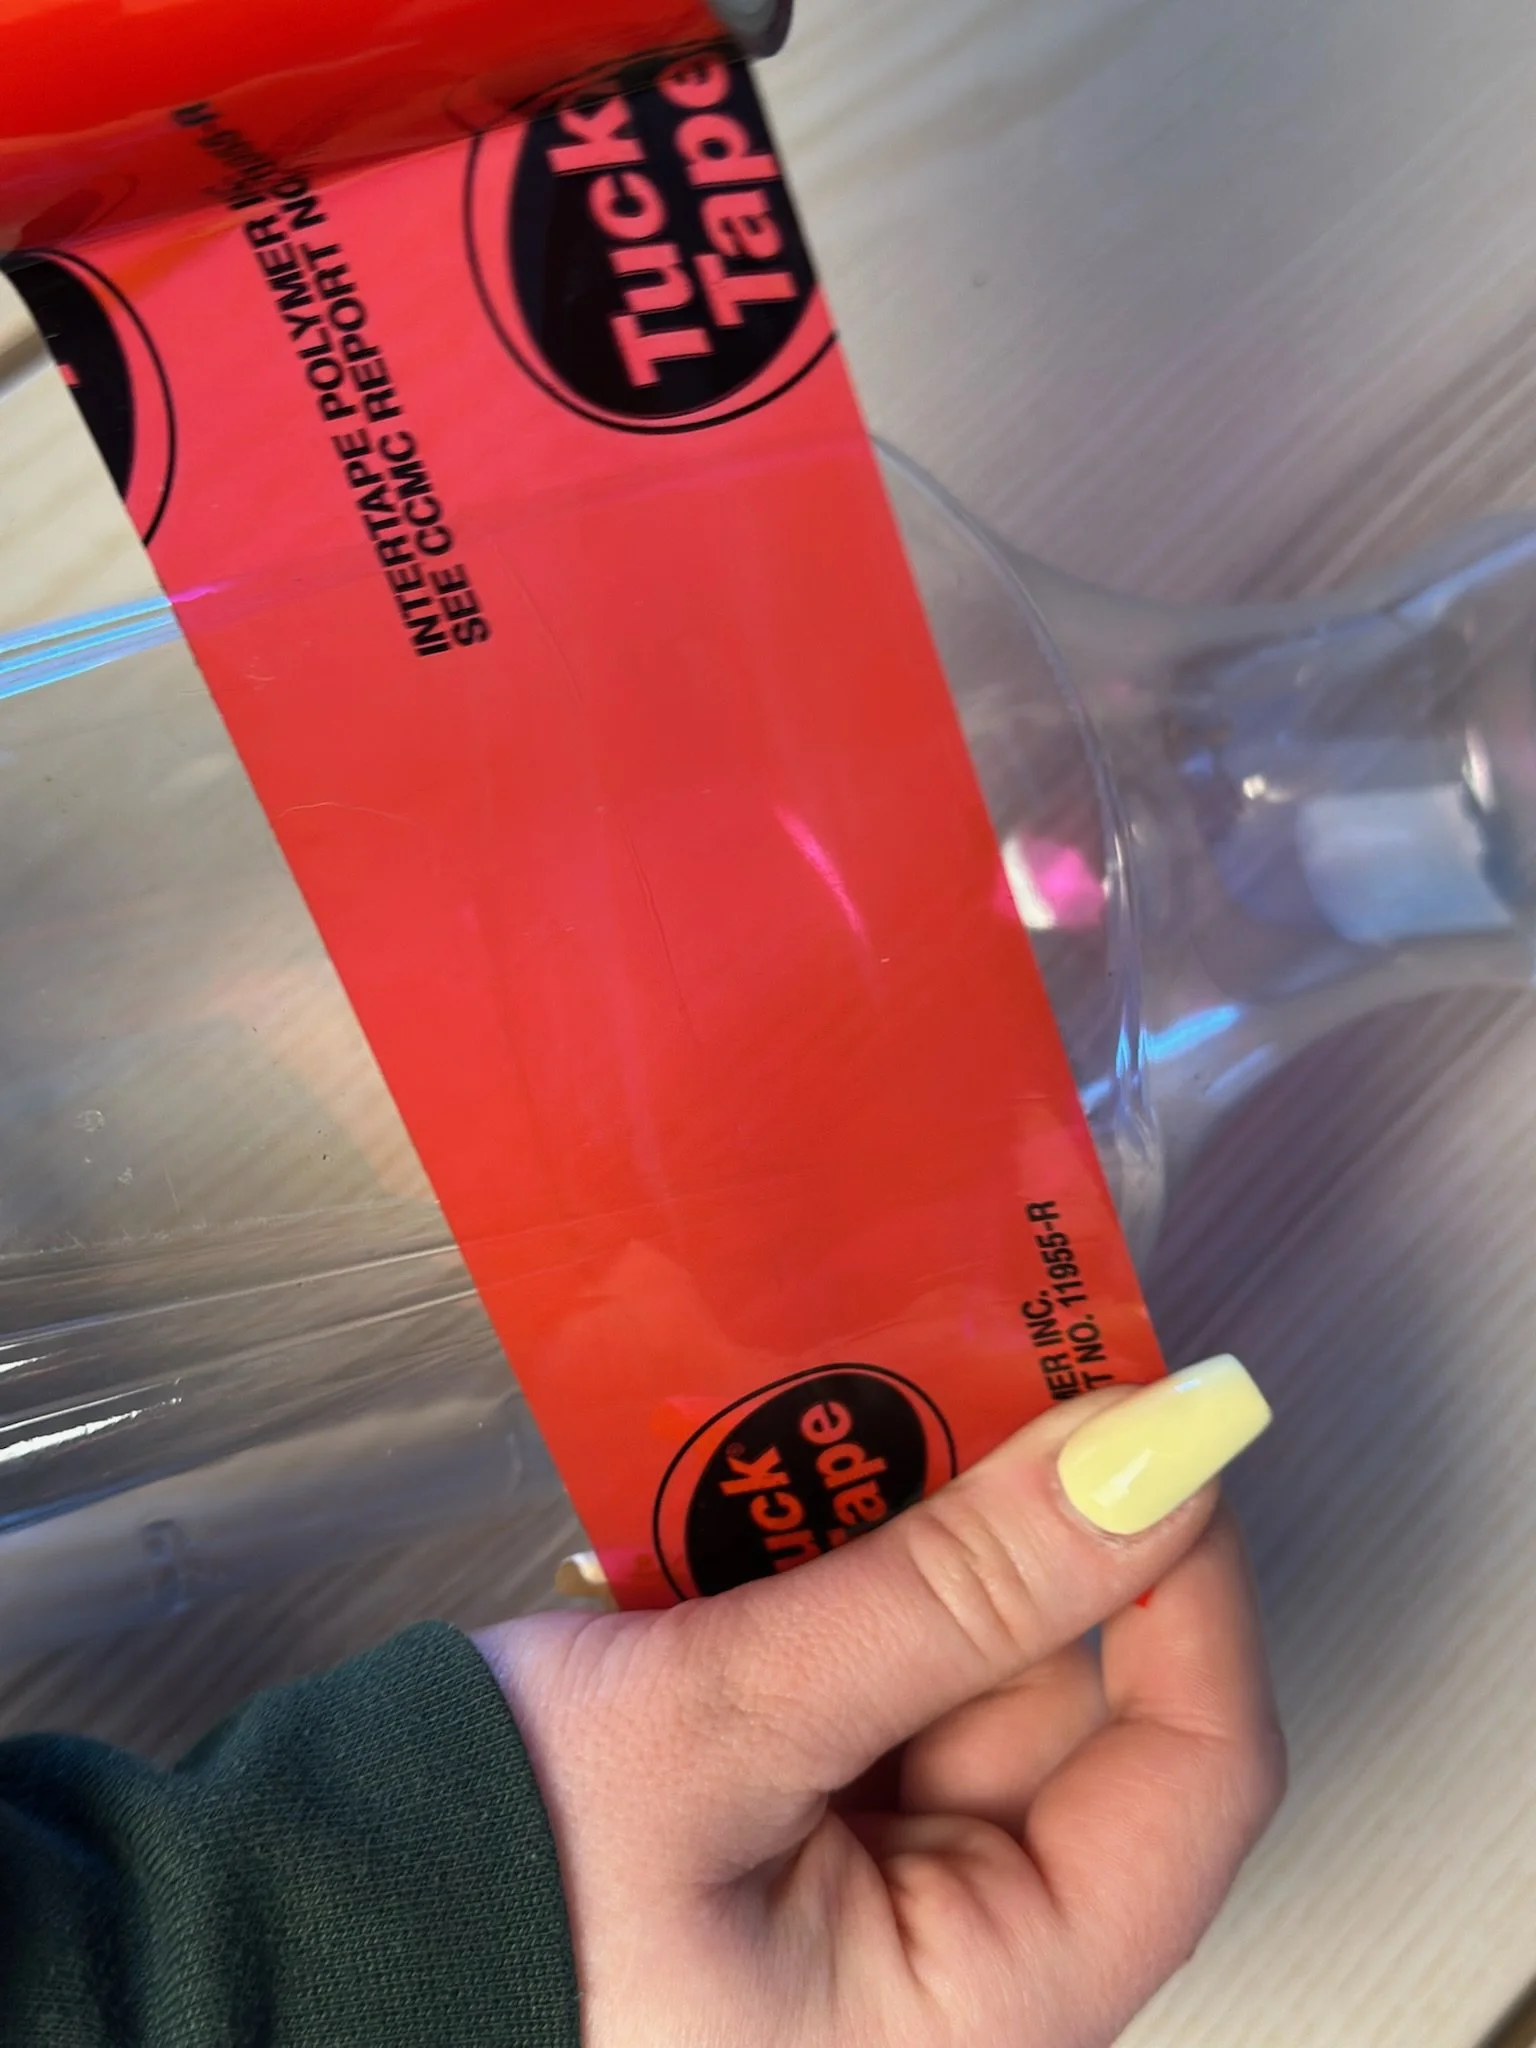
Tape: Tape will be used for closing the containers after you finish sowing the seeds. You should definitely use some heavy duty tape that will survive outdoors all winter. Our favourite type to use is the red Tuck Tape. Since it is slightly transparent it will let a bit more light in compared to Duck Tape or other strong tape types.
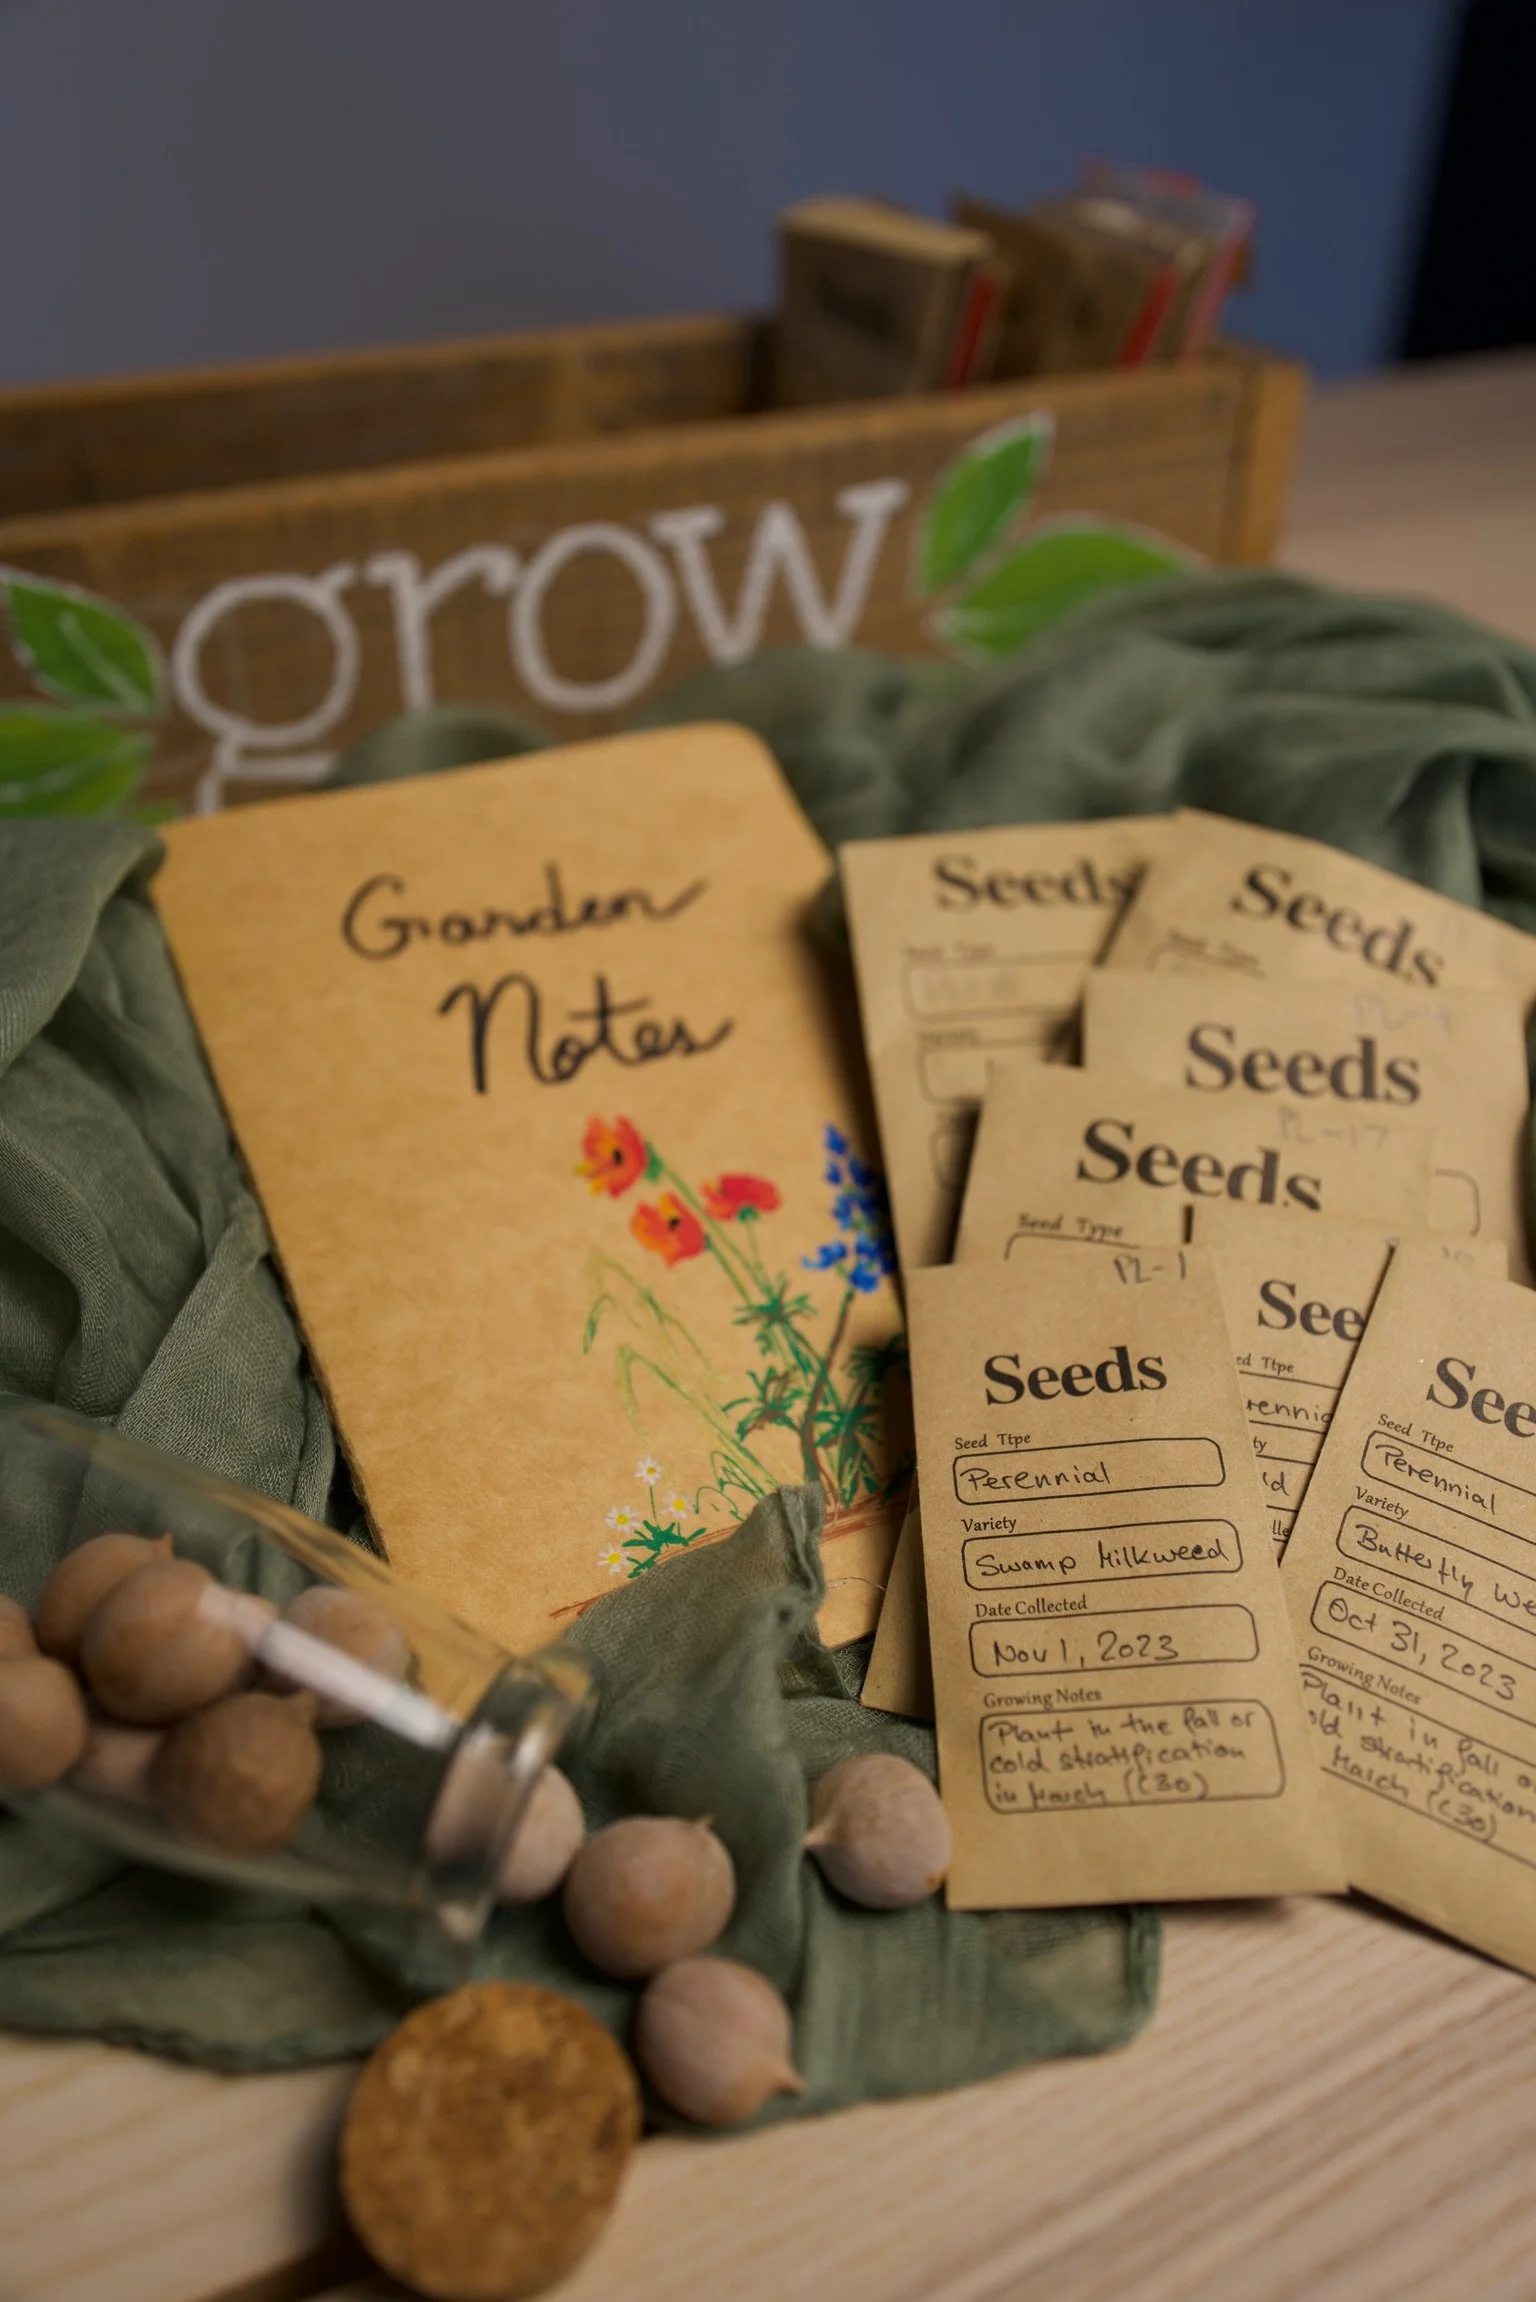
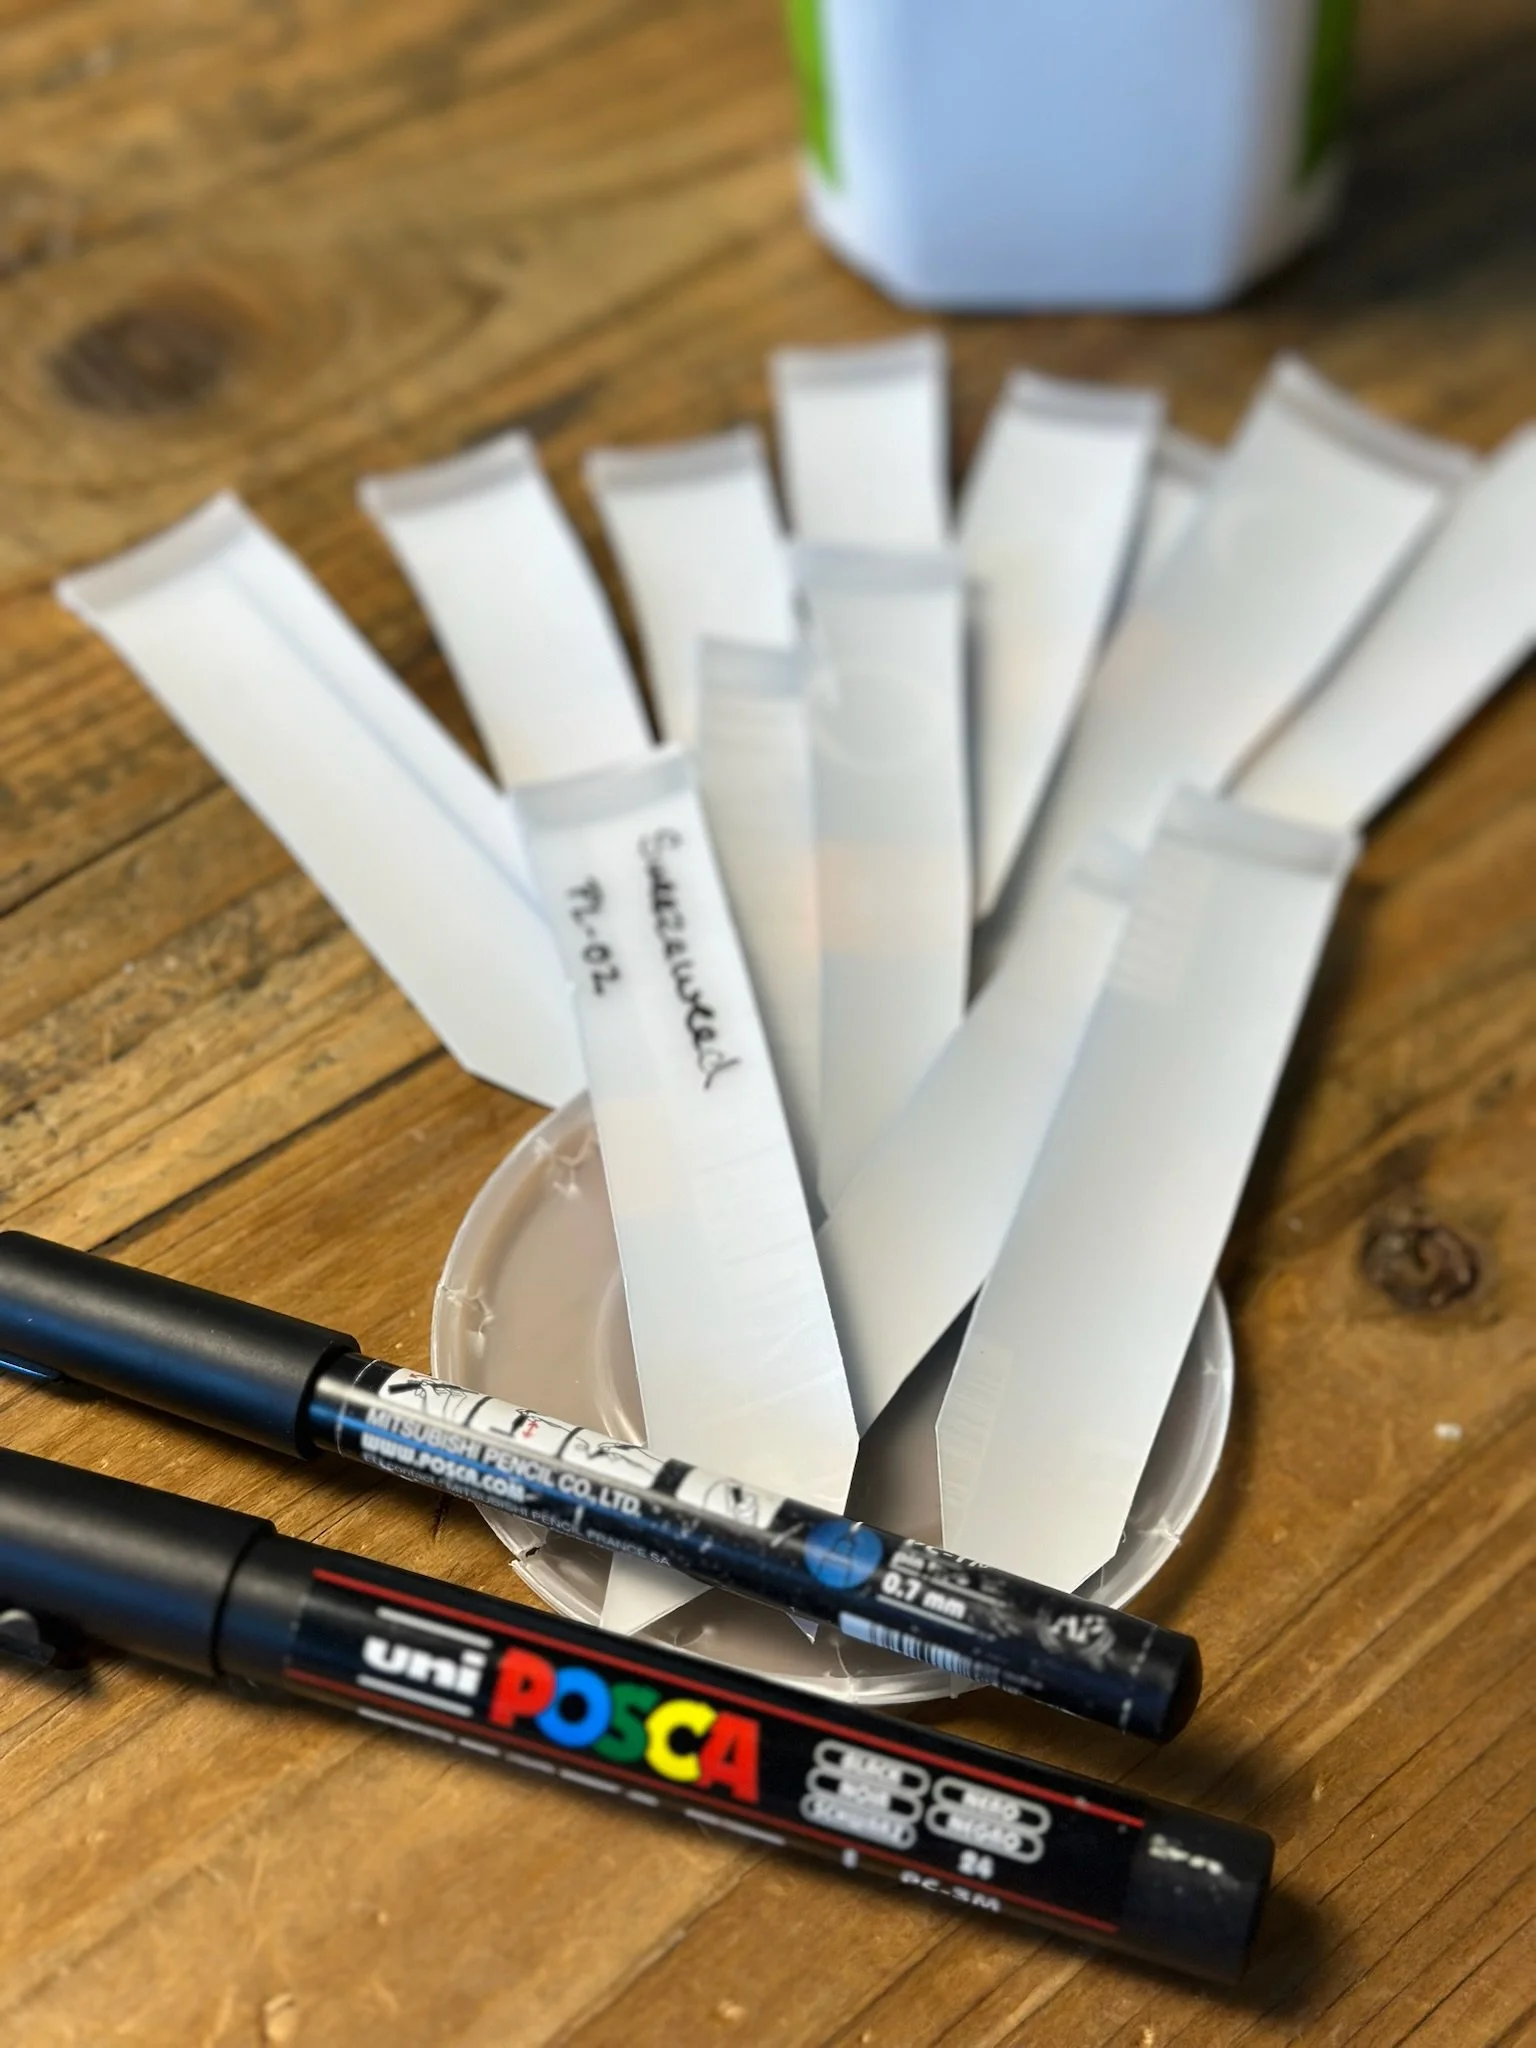
Marker: A good marker is important. A marker that will last through the winter weather and the sun. You definitely don’t want to forget what you planted in each container.
Labels: You can write on the outside of the containers to label what you planted. If you choose to try our method of winter sowing in bins you will need labels for each pot. Labels come in handy after a long winter you will most likely forget what you planted where.
Spray Bottle: After planting your seeds you need to water them without washing the seeds away. Using a spray bottle is the best choice to water the newly planted seeds.
Drill and Bit: Drills make adding holes a lot easier. Using another tool such as an exacto knife will be a lot more dangerous for adding drainage holes. A drill with a spade bit make it a lot easier to add drainage. You need a small enough size that won’t allow a mouse to squeeze into.


Winter Sowing Our Preferred Way

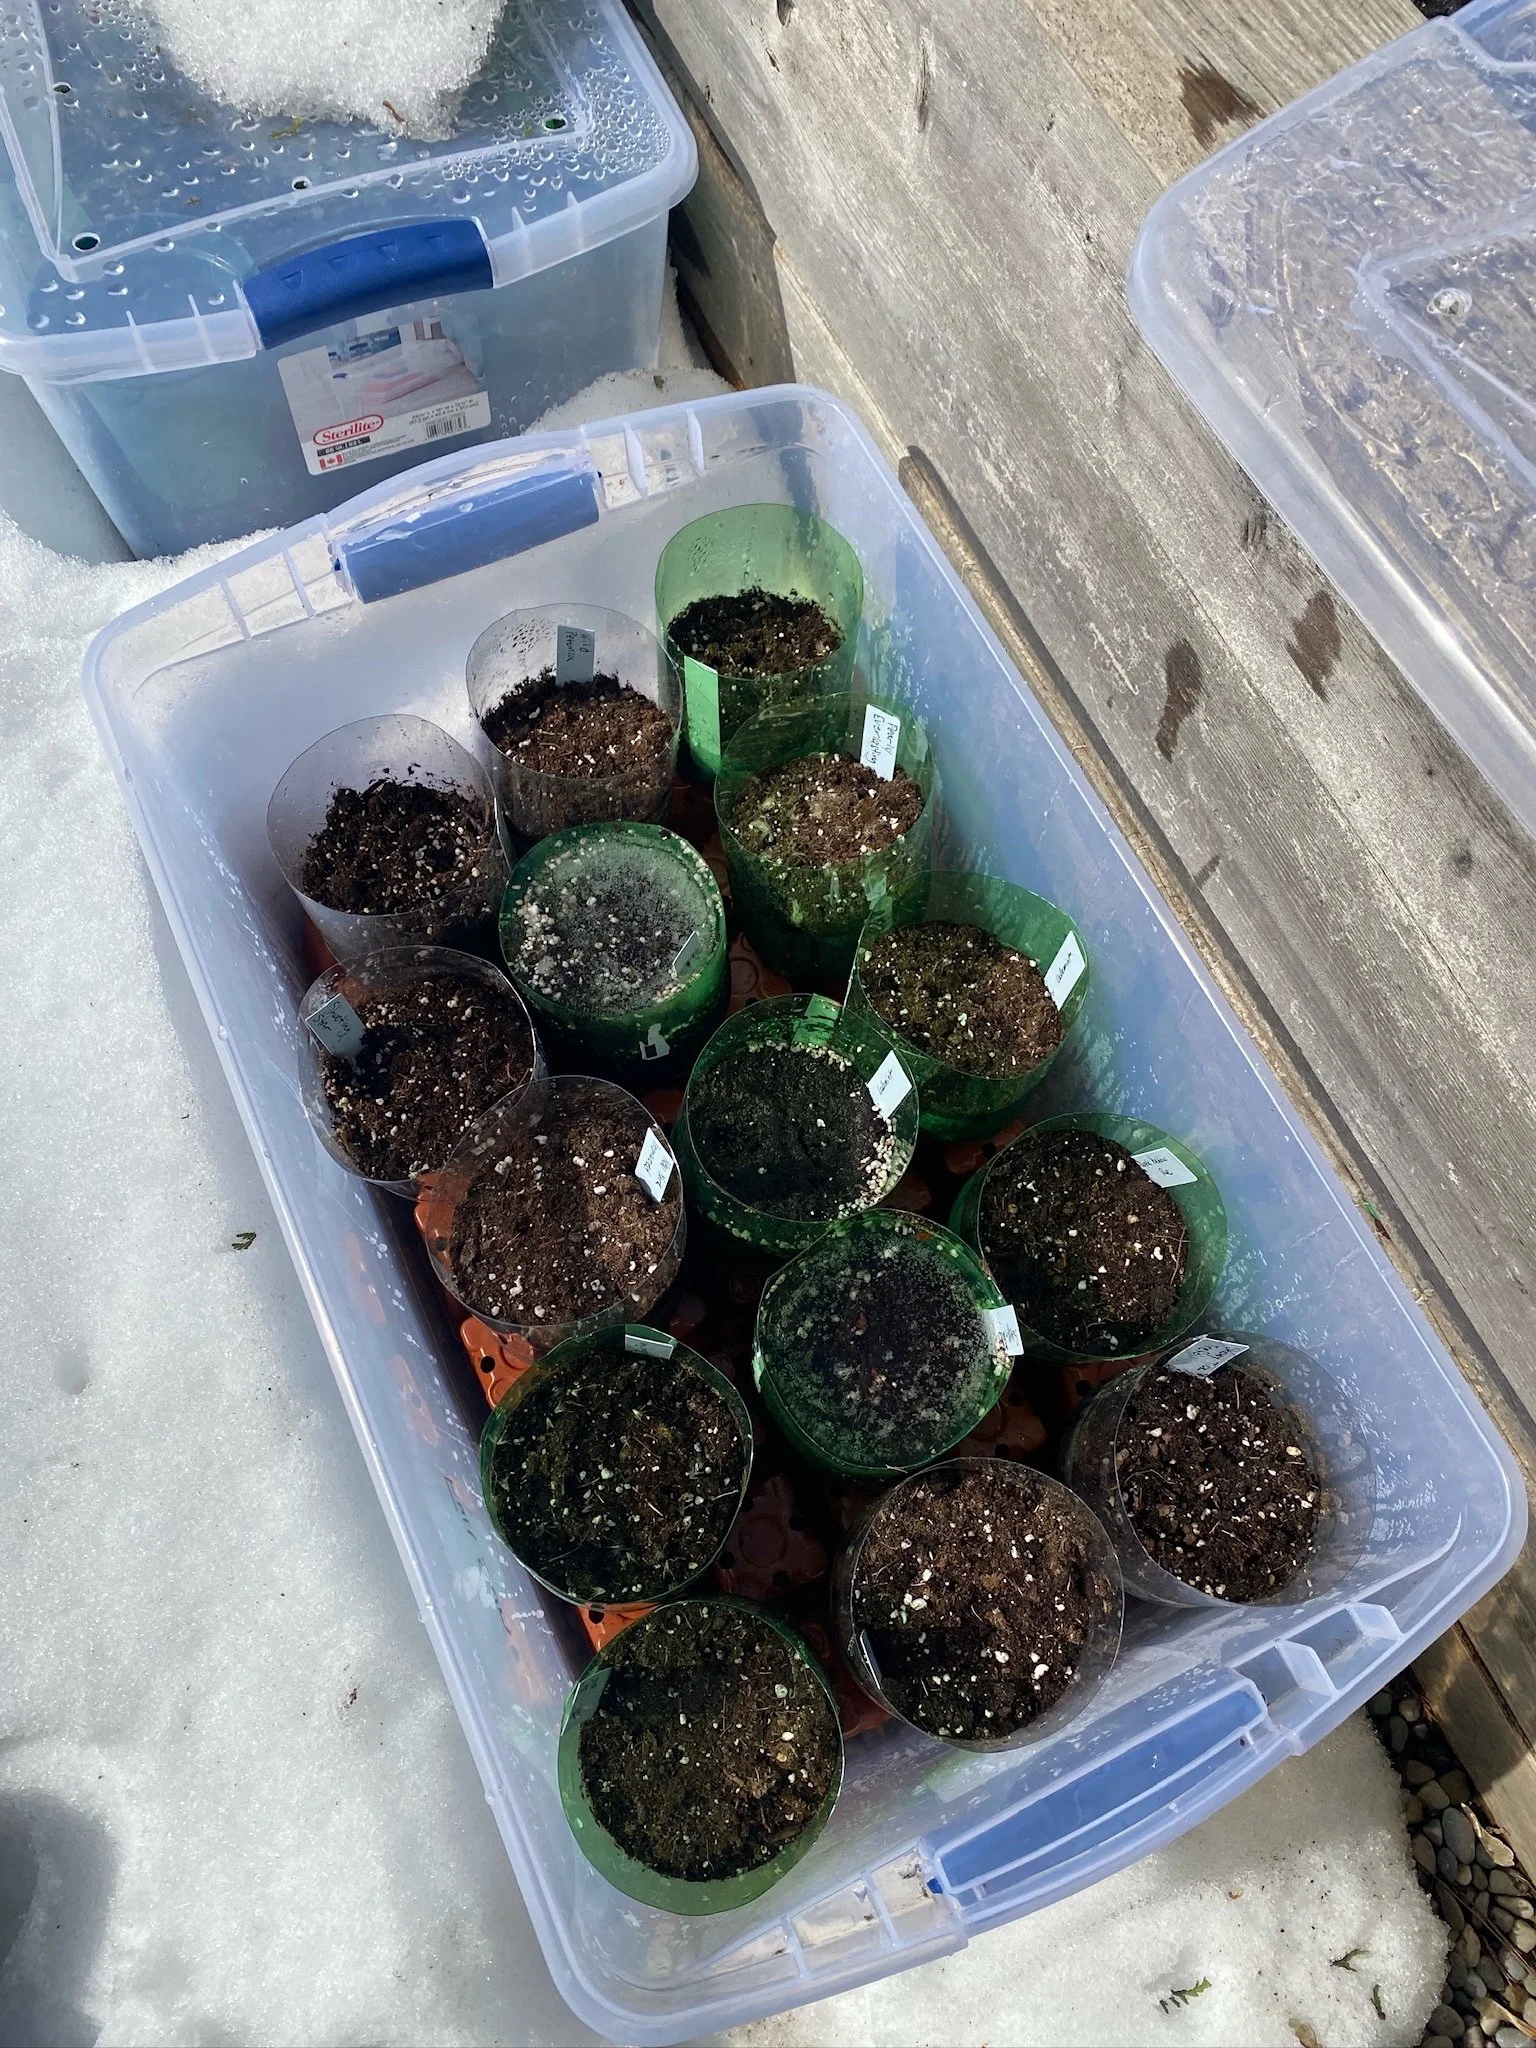
Over the last 2 winters we have been using a new method of winter sowing that has proven to work quite well. If you have a lot of plants to grow this is a great way to stay organized and keep your backyard looking tidy. You can start by collecting small plant pots or other vessels to hold the plants. Last winter we had a lot of extra pop bottles given to us by family members. We took the pop bottles and cut them in half and drilled drainage holes in the bottom. We were able to use the bottom half of the bottles as pots.
The key to keeping everything organized is the large clear tubs. You can repurpose any old Rubbermaid-style tubs you have laying around or purchase ones to use specifically for winter sowing. The essential part is the removable lids and the clear container. This turns what would be a mini greenhouse in a single small container, into a slightly larger mini greenhouse that can house a lot more plants. It can be reused each year so you don’t have to go through the process of drilling holes in multiple containers again.
Materials needed:
Most materials needed for this method will be similar to the above list.
Large rubbermaid style tub: Almost any size will work as long as your plants have enough space to grow without touching the top of the bin. The bin must be clear to let sunlight in.
Drill and bit: A drill with a spade bit is recommended. You will need to use one of the smallest sizes so the holes aren’t large enough for any critters to climb in.
Pots or empty containers: You can use old plant pots, containers cut in half, or even red solo cups. Just make sure they all have drainage holes.
Labels and marker: Labeling each container is very important. Make sure the marker will last all winter outdoors.
Soil: A seed starter mix or almost any potting soil mix will work. As long as the soil will drain and won’t have any weeds or previous plant seeds mixed in.
Spray Bottle: To moisten the soil after planting the seeds.