Harvesting Seeds

Harvesting seeds is another important part of your seasonal garden calendar! If you enjoyed your produce and would like to plant it again, you can simply save some seeds for next year, especially if they were hard to come by initially.
There are a few key points to keep in mind when harvesting seeds:
Choose the Right Plants: Opt for open-pollinated or heirloom varieties, as their seeds will produce plants similar to the parent plant. Avoid hybrid varieties, as their seeds may not yield consistent results.
Timing: Harvest seeds when they are fully mature. This usually means waiting until the fruits or seed pods are completely ripe. For example, for most flowers and vegetables, allow the seeds to dry on the plant before collecting them. Examples include beans or milkweed seeds.
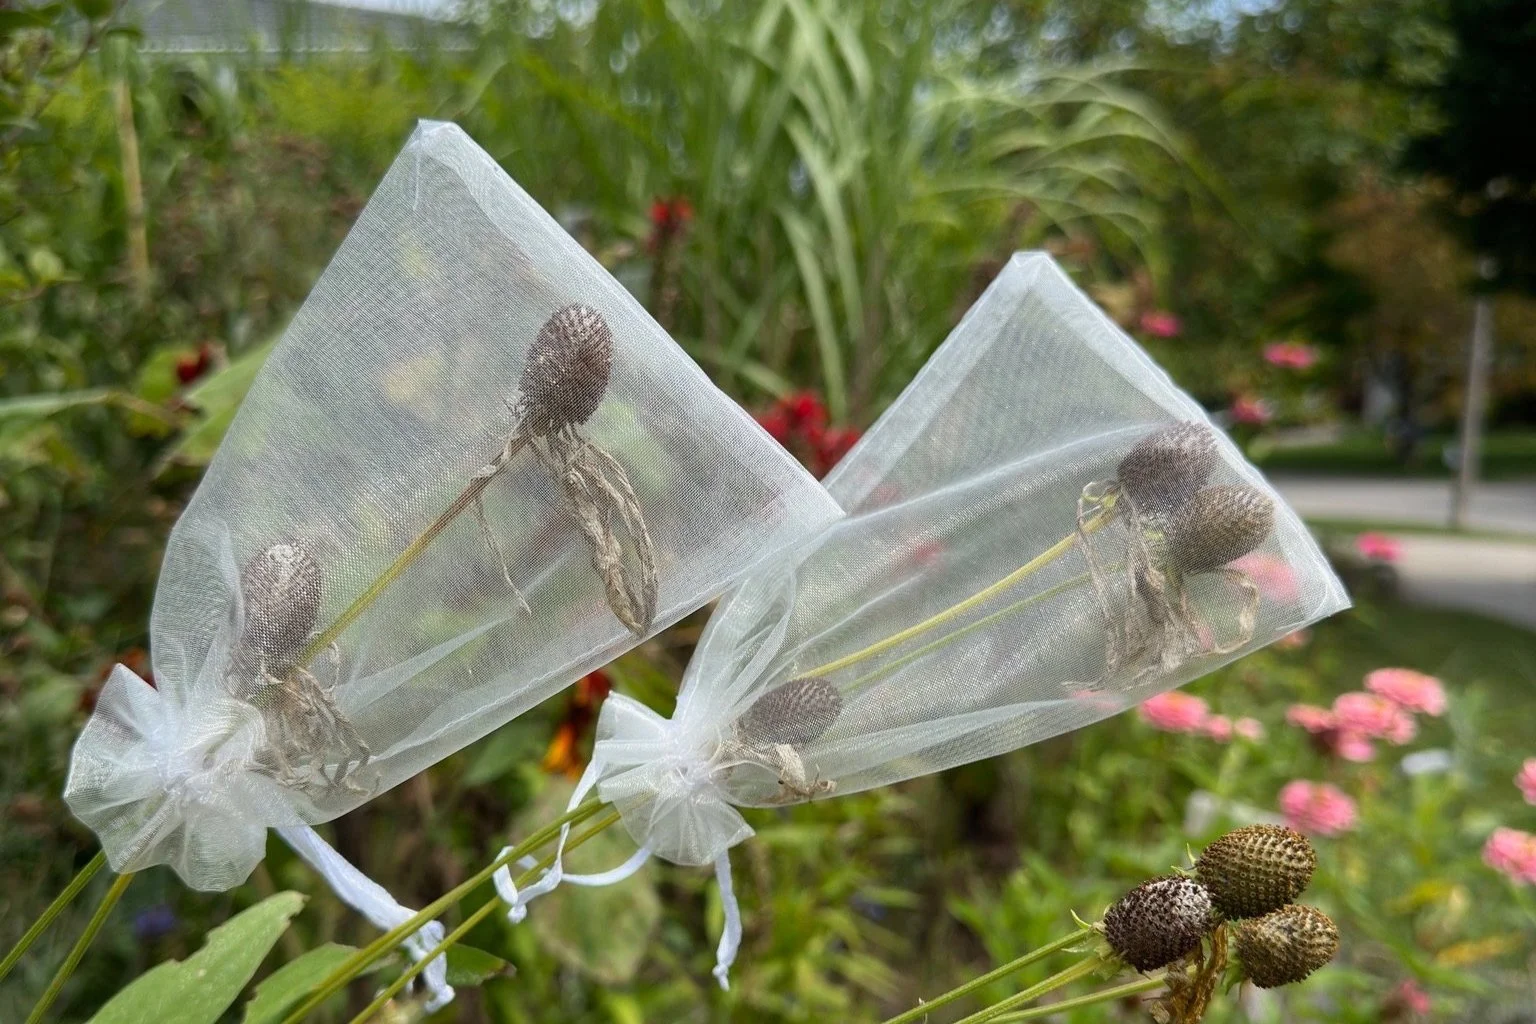
Common sight in our gardens are our “Seed Hoodies”. Protecting some seeds from naughty squirrels and birds.
Collection: Carefully extract the seeds from the plant, ensuring they remain undamaged. For vegetables such as tomatoes, scoop out and clean the seeds. For flowers, gently shake the seeds into a container. Our tried and tested method for collecting native flower seeds involves placing small white fabric bags (e.g., small white wedding favour bags) over the dying flower heads and seedpods. This approach protects the seeds from birds and squirrels and prevents seed dispersal, as some native species are known to catapult their seeds when they mature.
Seed Processing: There are three types of seed processing options to consider:
Dry Seed Processing
For seeds that grow on the outside of plants:
Allow the seeds to dry on the plant, then collect the seedpods before they break open.
For plants with seeds that develop in the center of the flower:
Allow the plant to dry, and harvest the seeds when the seed head turns brown.
To avoid mold and reduce additional drying time, collect seeds under dry, warm conditions.
Examples: Herbs, Arugula, Beans, Sunflowers, Coneflowers

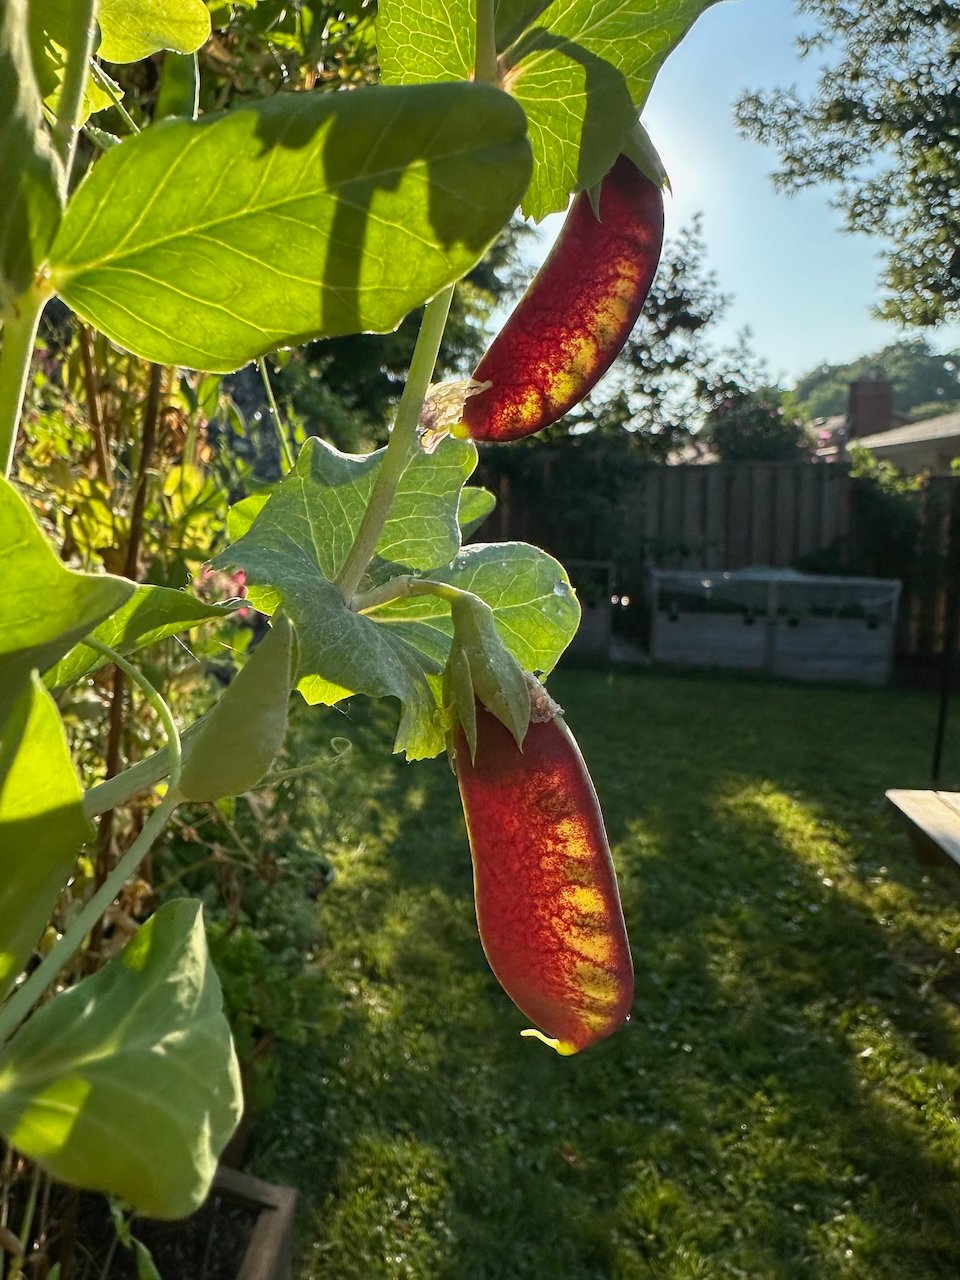
Wet Seed Processing
For seeds that grow inside the fleshy fruit of plants:
Rinse off the seeds and ensure they are thoroughly dried.
If a gel-like coating occurs around the seeds, use the fermentation process described below.
To determine if your seeds have a coating, float them in a small amount of water. The coating will become evident in the water.
Examples: Capsicum, Chilli peppers
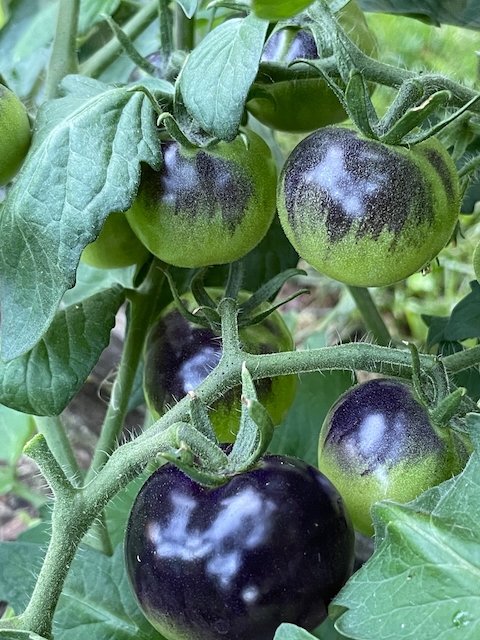
Fermentation Seed Processing
For seeds with a gel-like coating:
Using a glass or plastic container with a lid, mix the seeds and the seed juice with a small amount of water.
Allow the seeds to ferment for 4 days.
Fermentation is complete when a layer of mold has formed on top of the water and the seeds have sunk to the bottom. Add more water to the container, swish it around, and remove the mold and pulp. Save the good seeds that have sunk to the bottom and dispose of the bad seeds that have floated to the top.
Remove the seeds from the water and place them on a plate, screen, or paper towel to dry thoroughly. Once the seeds are completely dry, place them in a moisture-proof container. Label and store the seeds.
Examples: Tomatoes, cucumbers, melons, pumpkins
Drying: Thoroughly dry the seeds to prevent mold during storage. Spread them out on a paper towel or screen in a well-ventilated area away from direct sunlight. Drying can take several days to a week.
Storage: Store seeds in a cool, dry place. Use airtight containers, such as glass jars. Some people prefer plastic bags, but we opt for paper bags to avoid trapping moisture, which can lead to mold and mildew growth. Seeds need to be kept in a cool, dry environment to maintain their viability, and plastic bags can create a humid environment if any moisture is present. Label them with the plant type and harvest date. You can also add a silica gel packet or some rice to absorb any excess moisture.
Viability: Keep in mind that seed viability decreases over time. Use older seeds first and rotate your stock. Some seeds can remain viable for up to 5 years if stored properly.
Testing Germination: Before planting, you can test seed viability by placing a few seeds on a damp paper towel in a plastic bag. Check for germination within a week or two.